Whenever you take a trip into the woods, it’s awesome to snag a photo of wildlife! Dang, it is tough, though. Over the last fifteen years, I have been taking wildlife photography photos in the backcountry with everything from a cheap point and shoot, a GoPro to a DSLR.
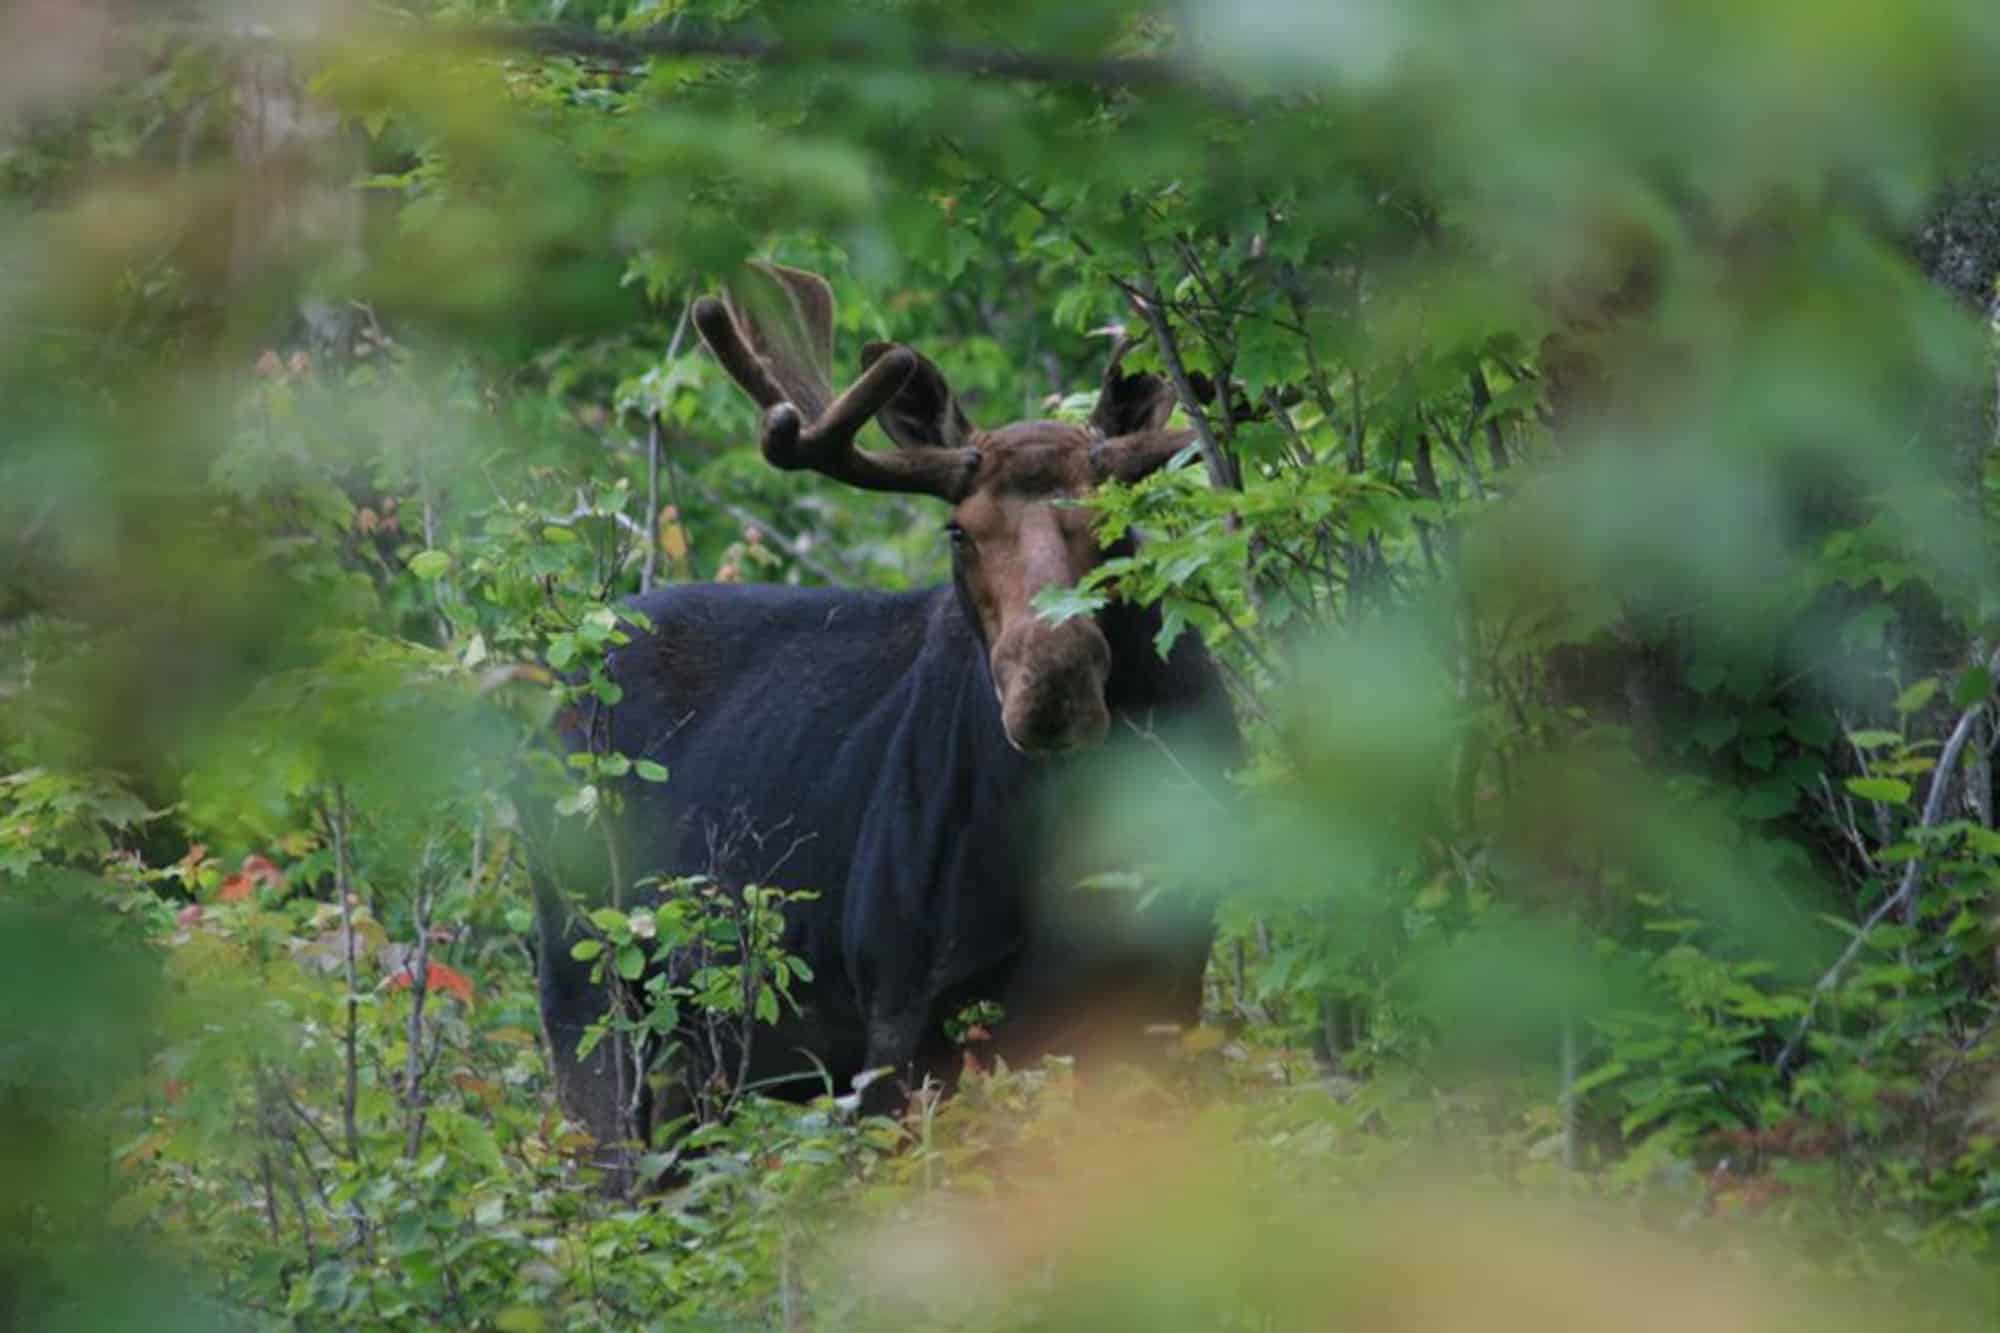
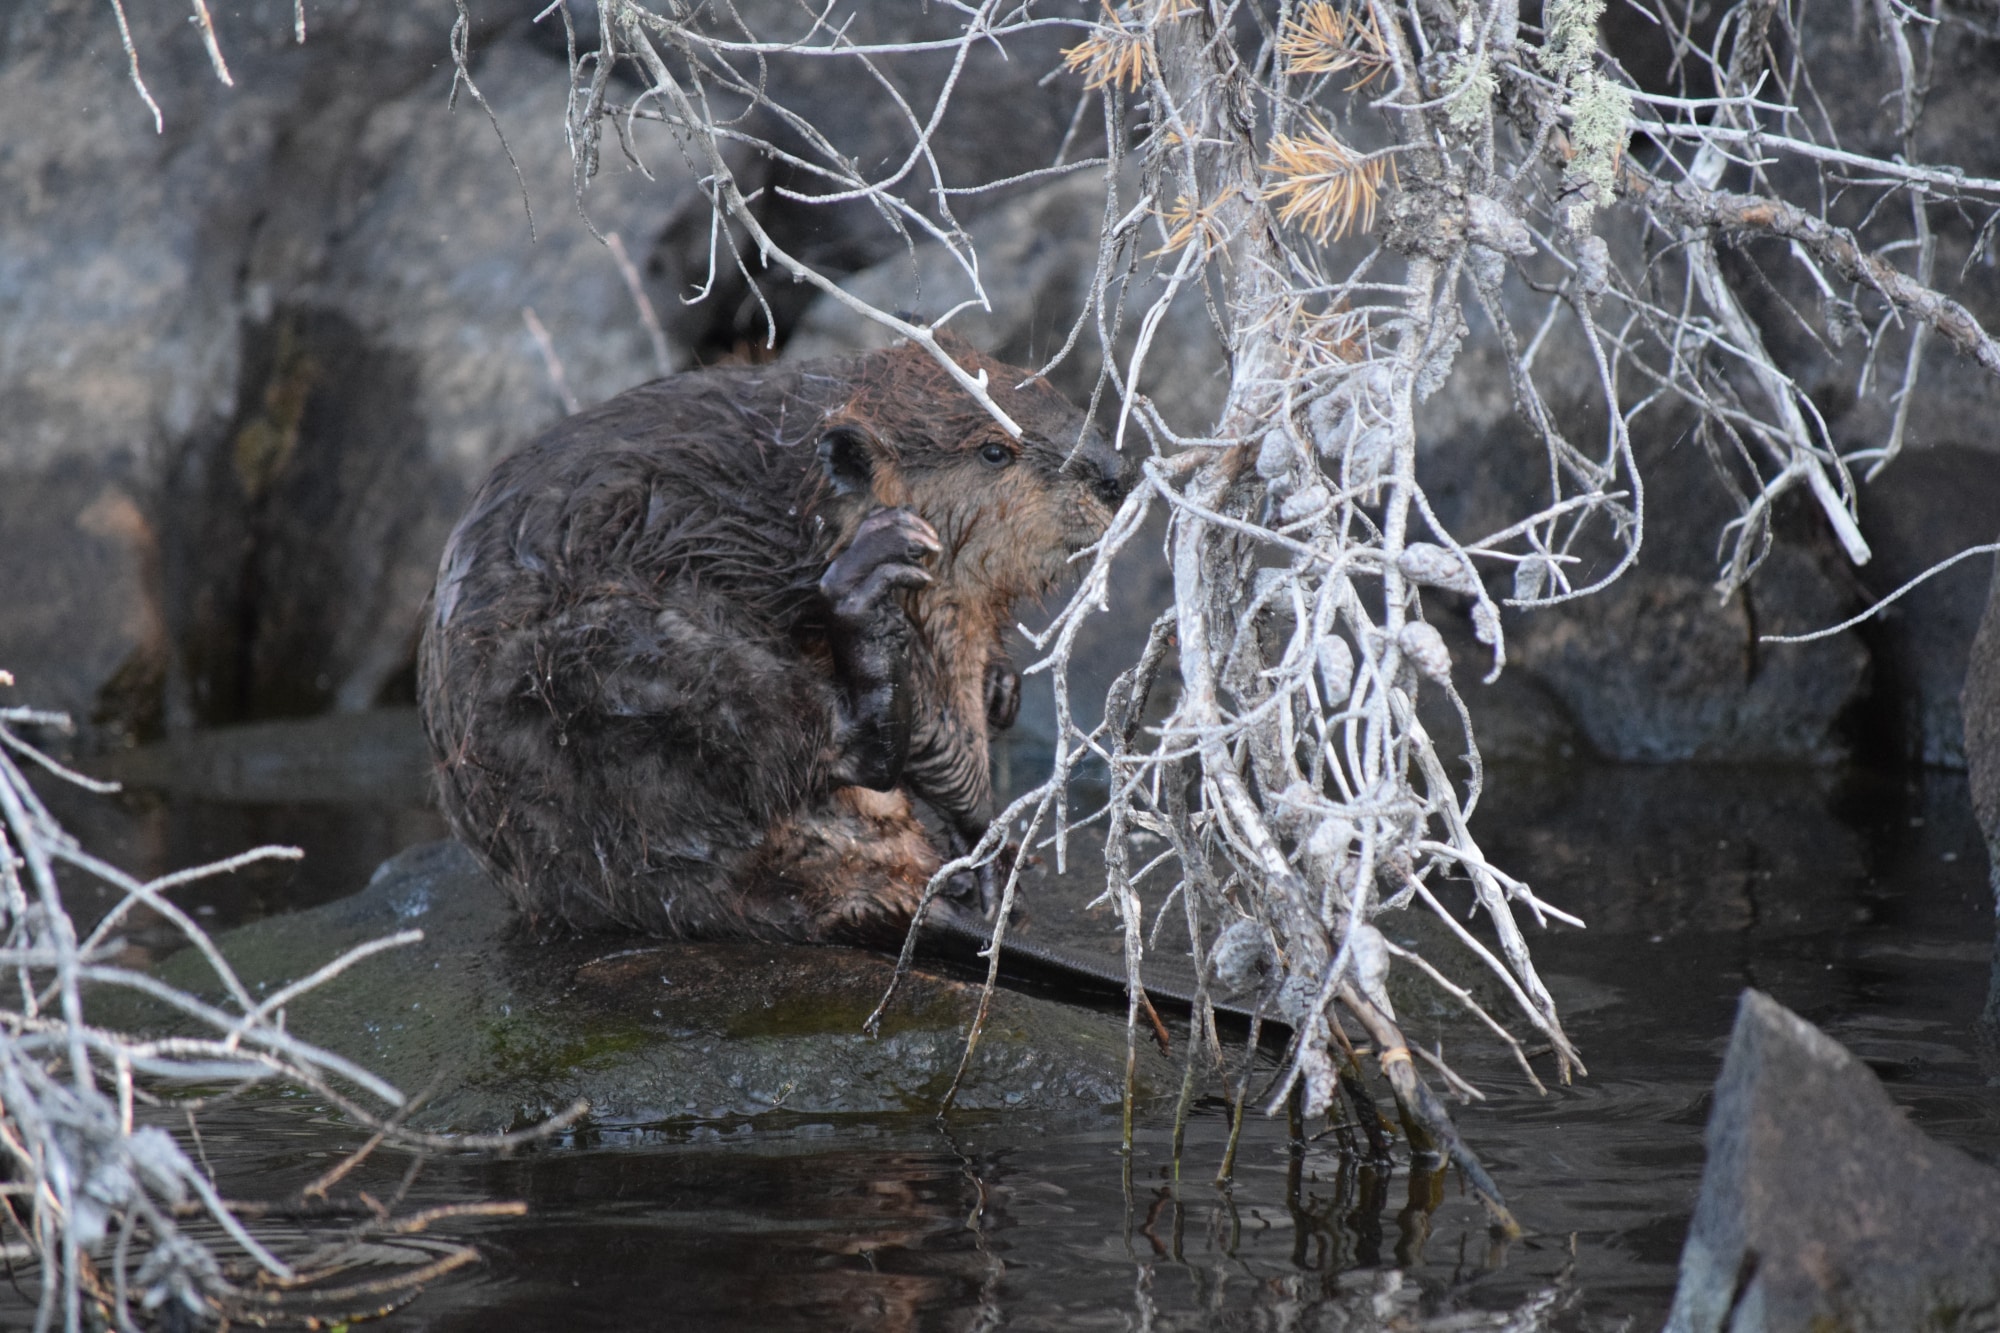
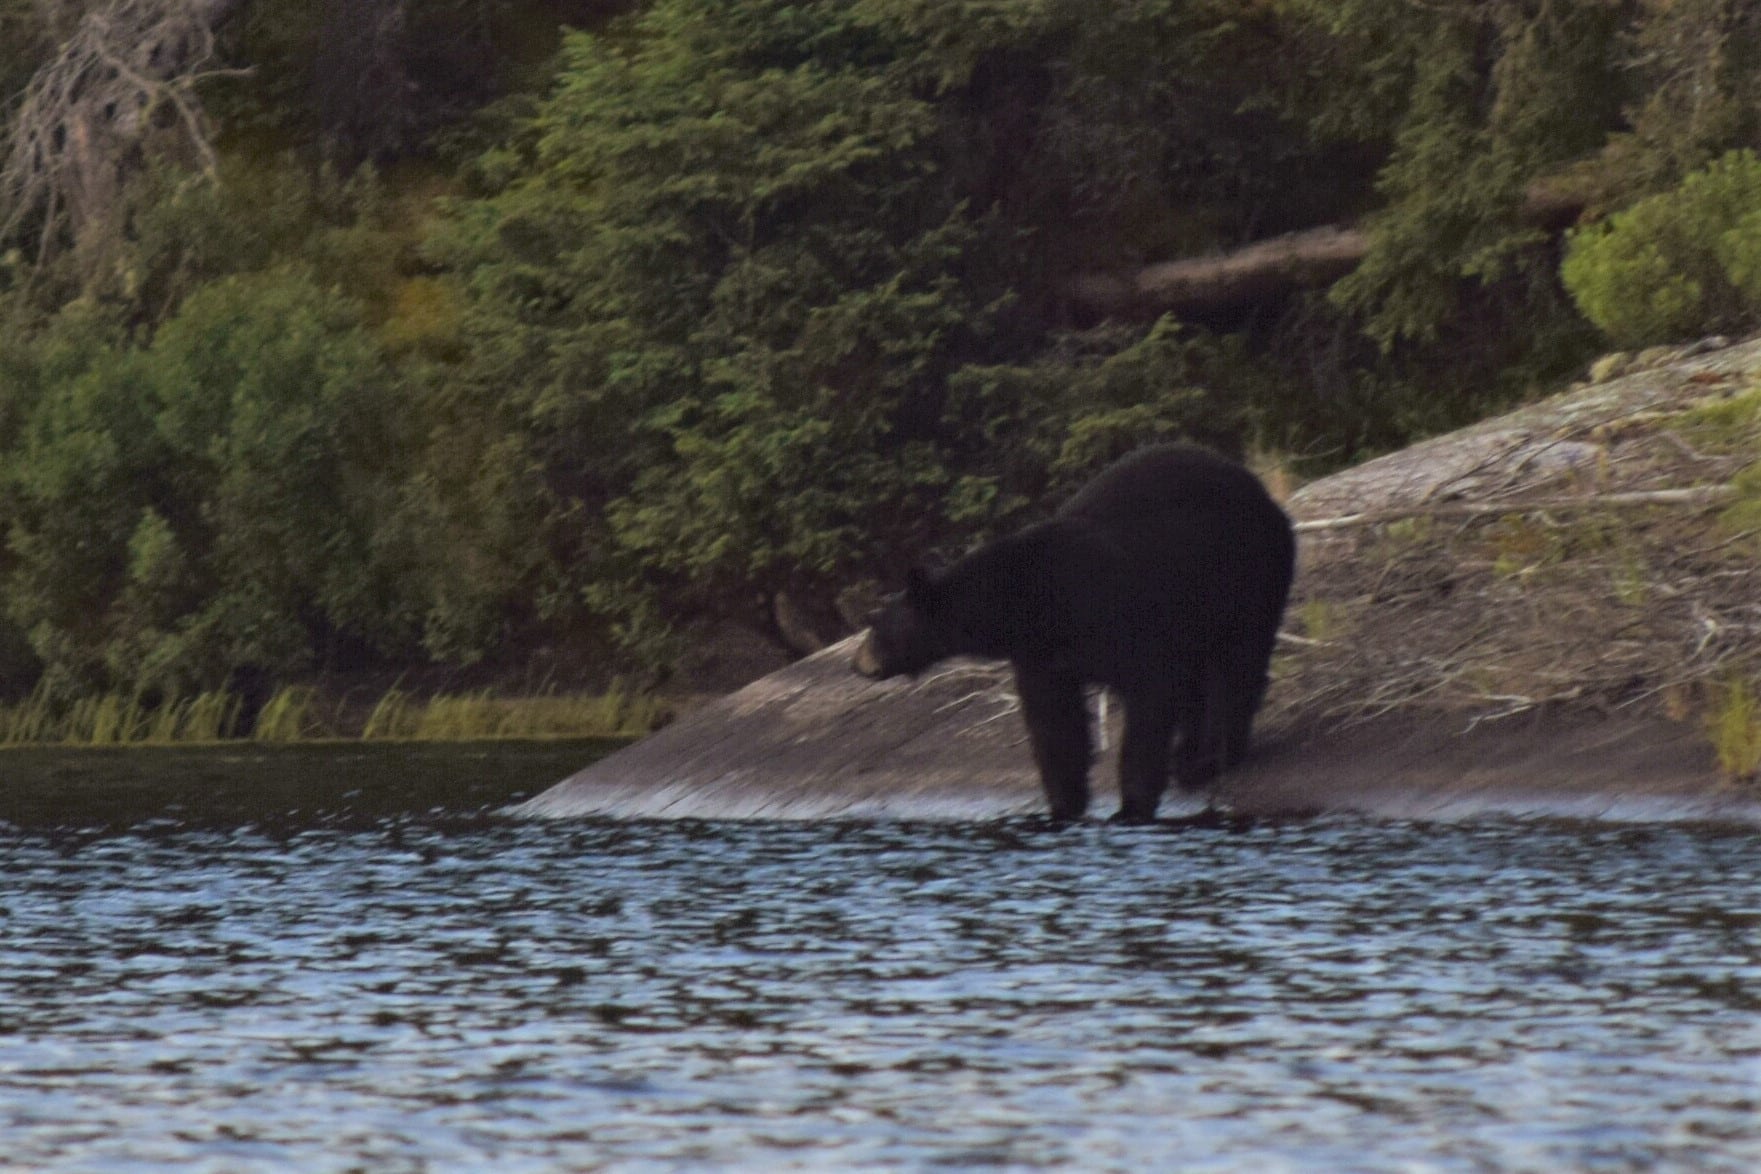
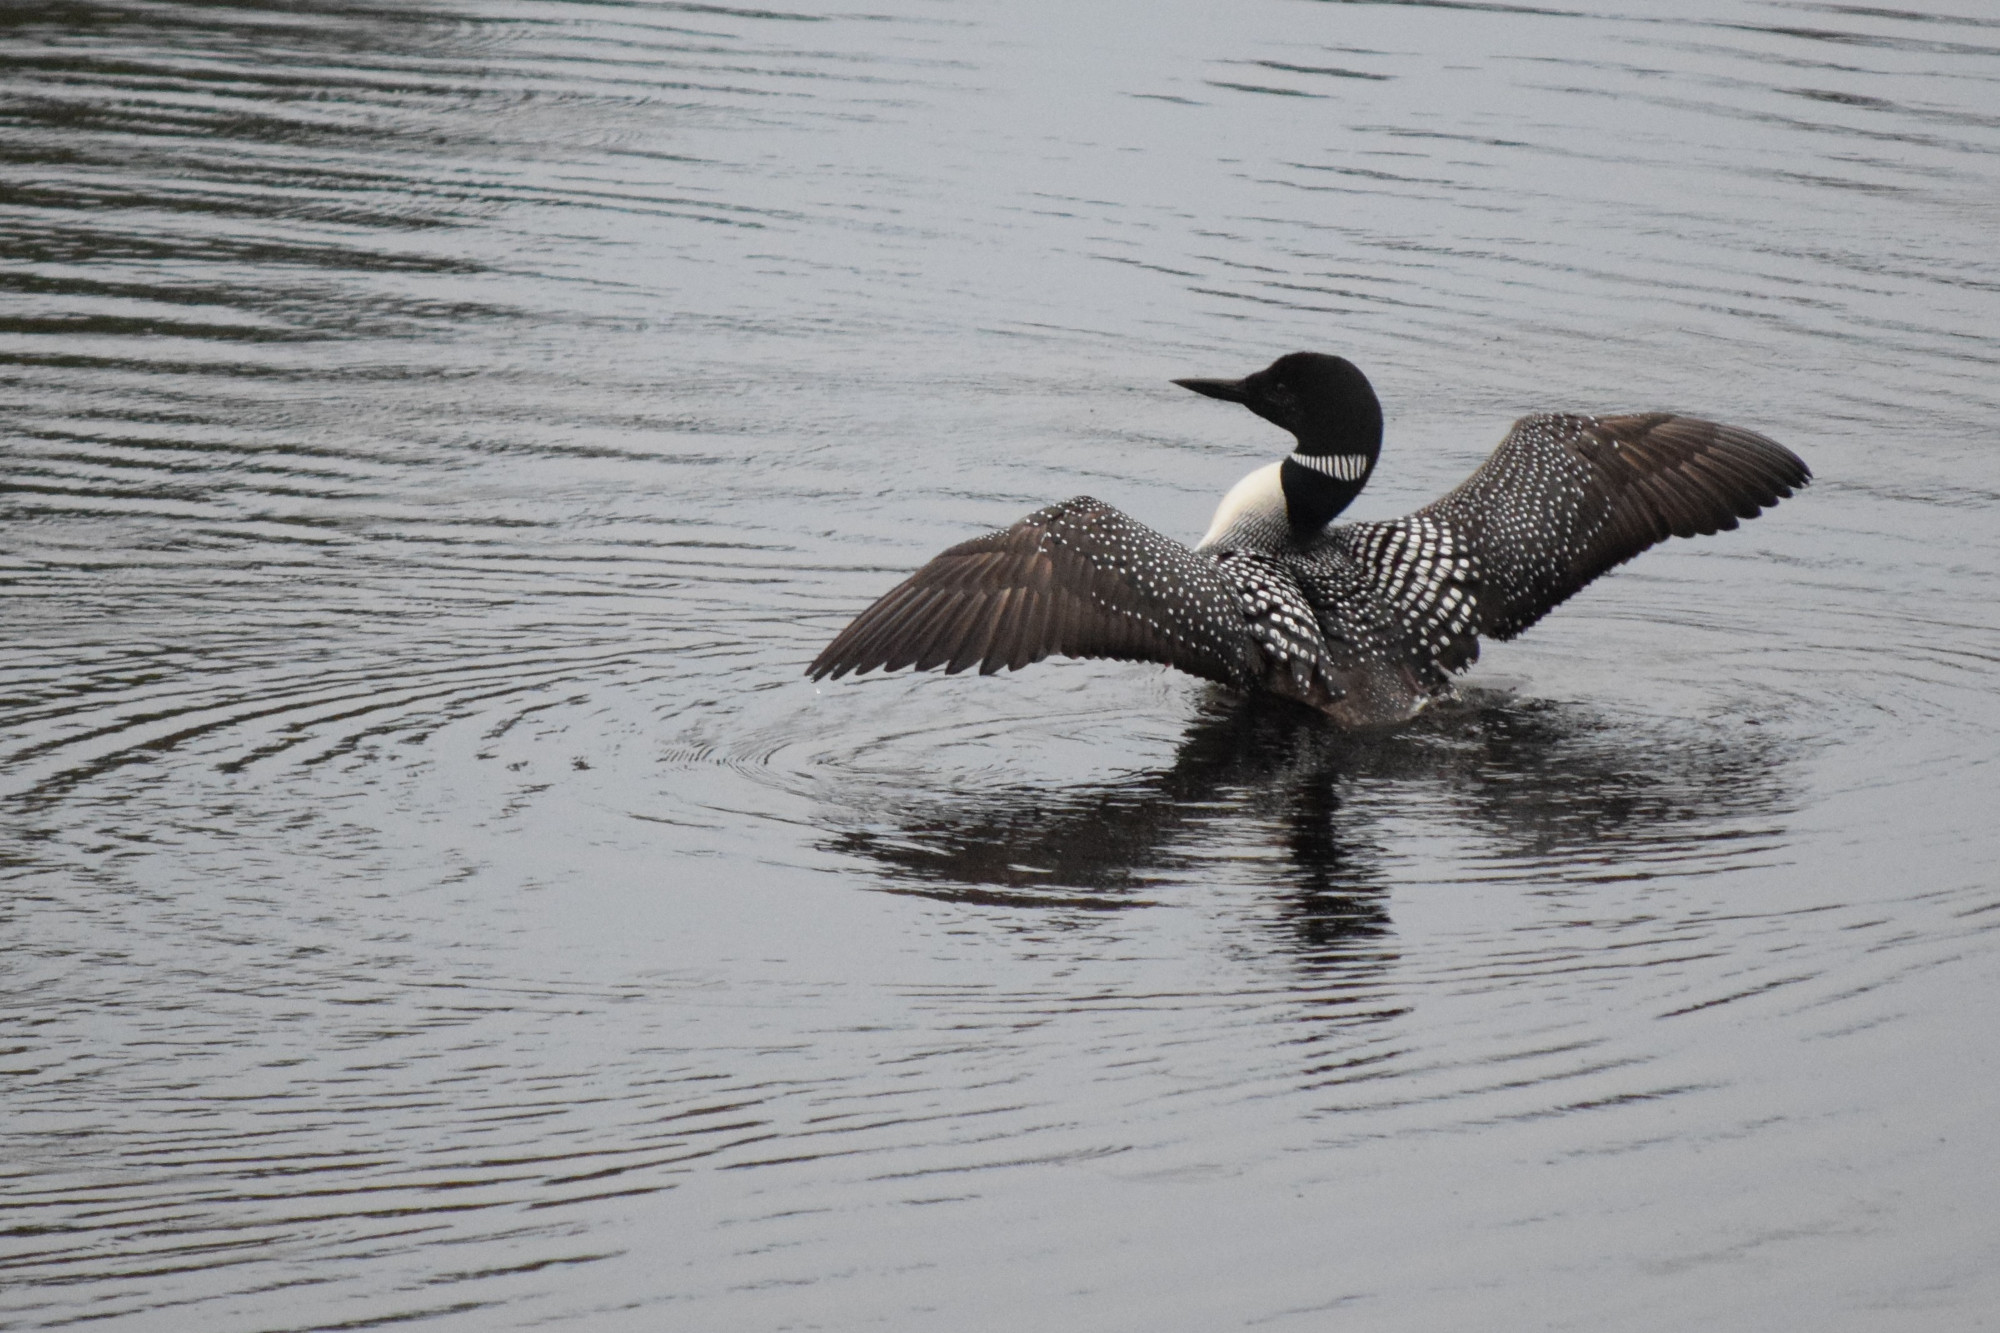
I have had good luck taking photos of life. Here’s a list of just some of the animals I’ve snagged a shot of loons, eagles, deer, black bear, moose, woodland caribou, beaver, otter, and of course some of the small stuff like chipmunks (or minibear as they have been known as in my circles).
Simple Tips for Great Wildlife Shots
Here are a few tips for how to do wildlife photography and positioning yourself for a better chance of getting those wildlife shots. We are anxious to find your own tips in the comments below.
#6 Location is Everything
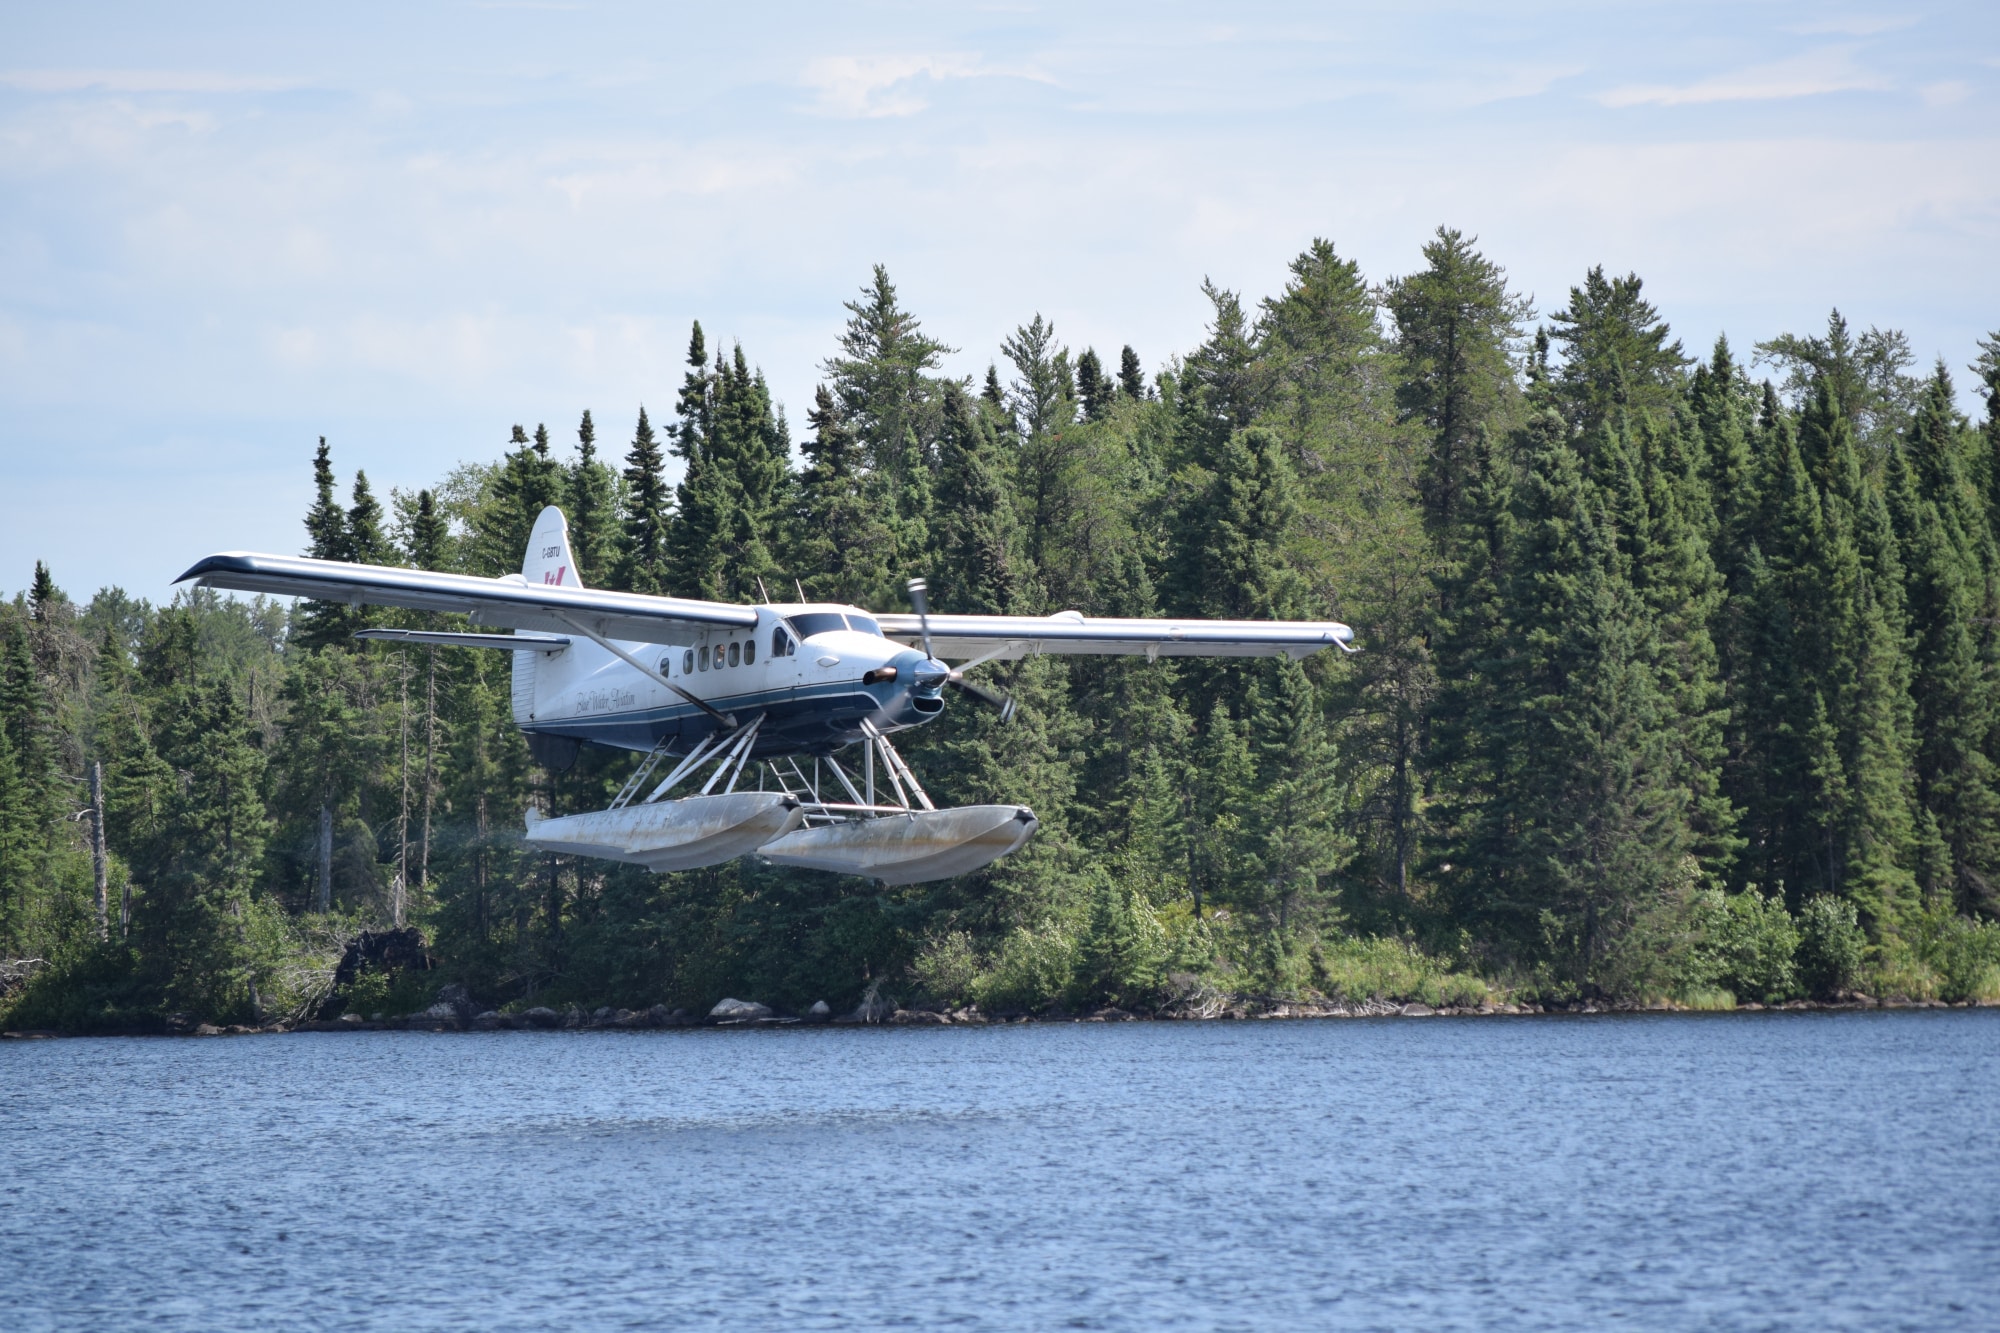
Most of this, in my opinion, depends on location. If you are not in a place where the animals frequent, you’re not likely to get that picture. I have had most of my pictures come from the backcountry in wilderness areas, surprise surprise.
#5 Be Prepared
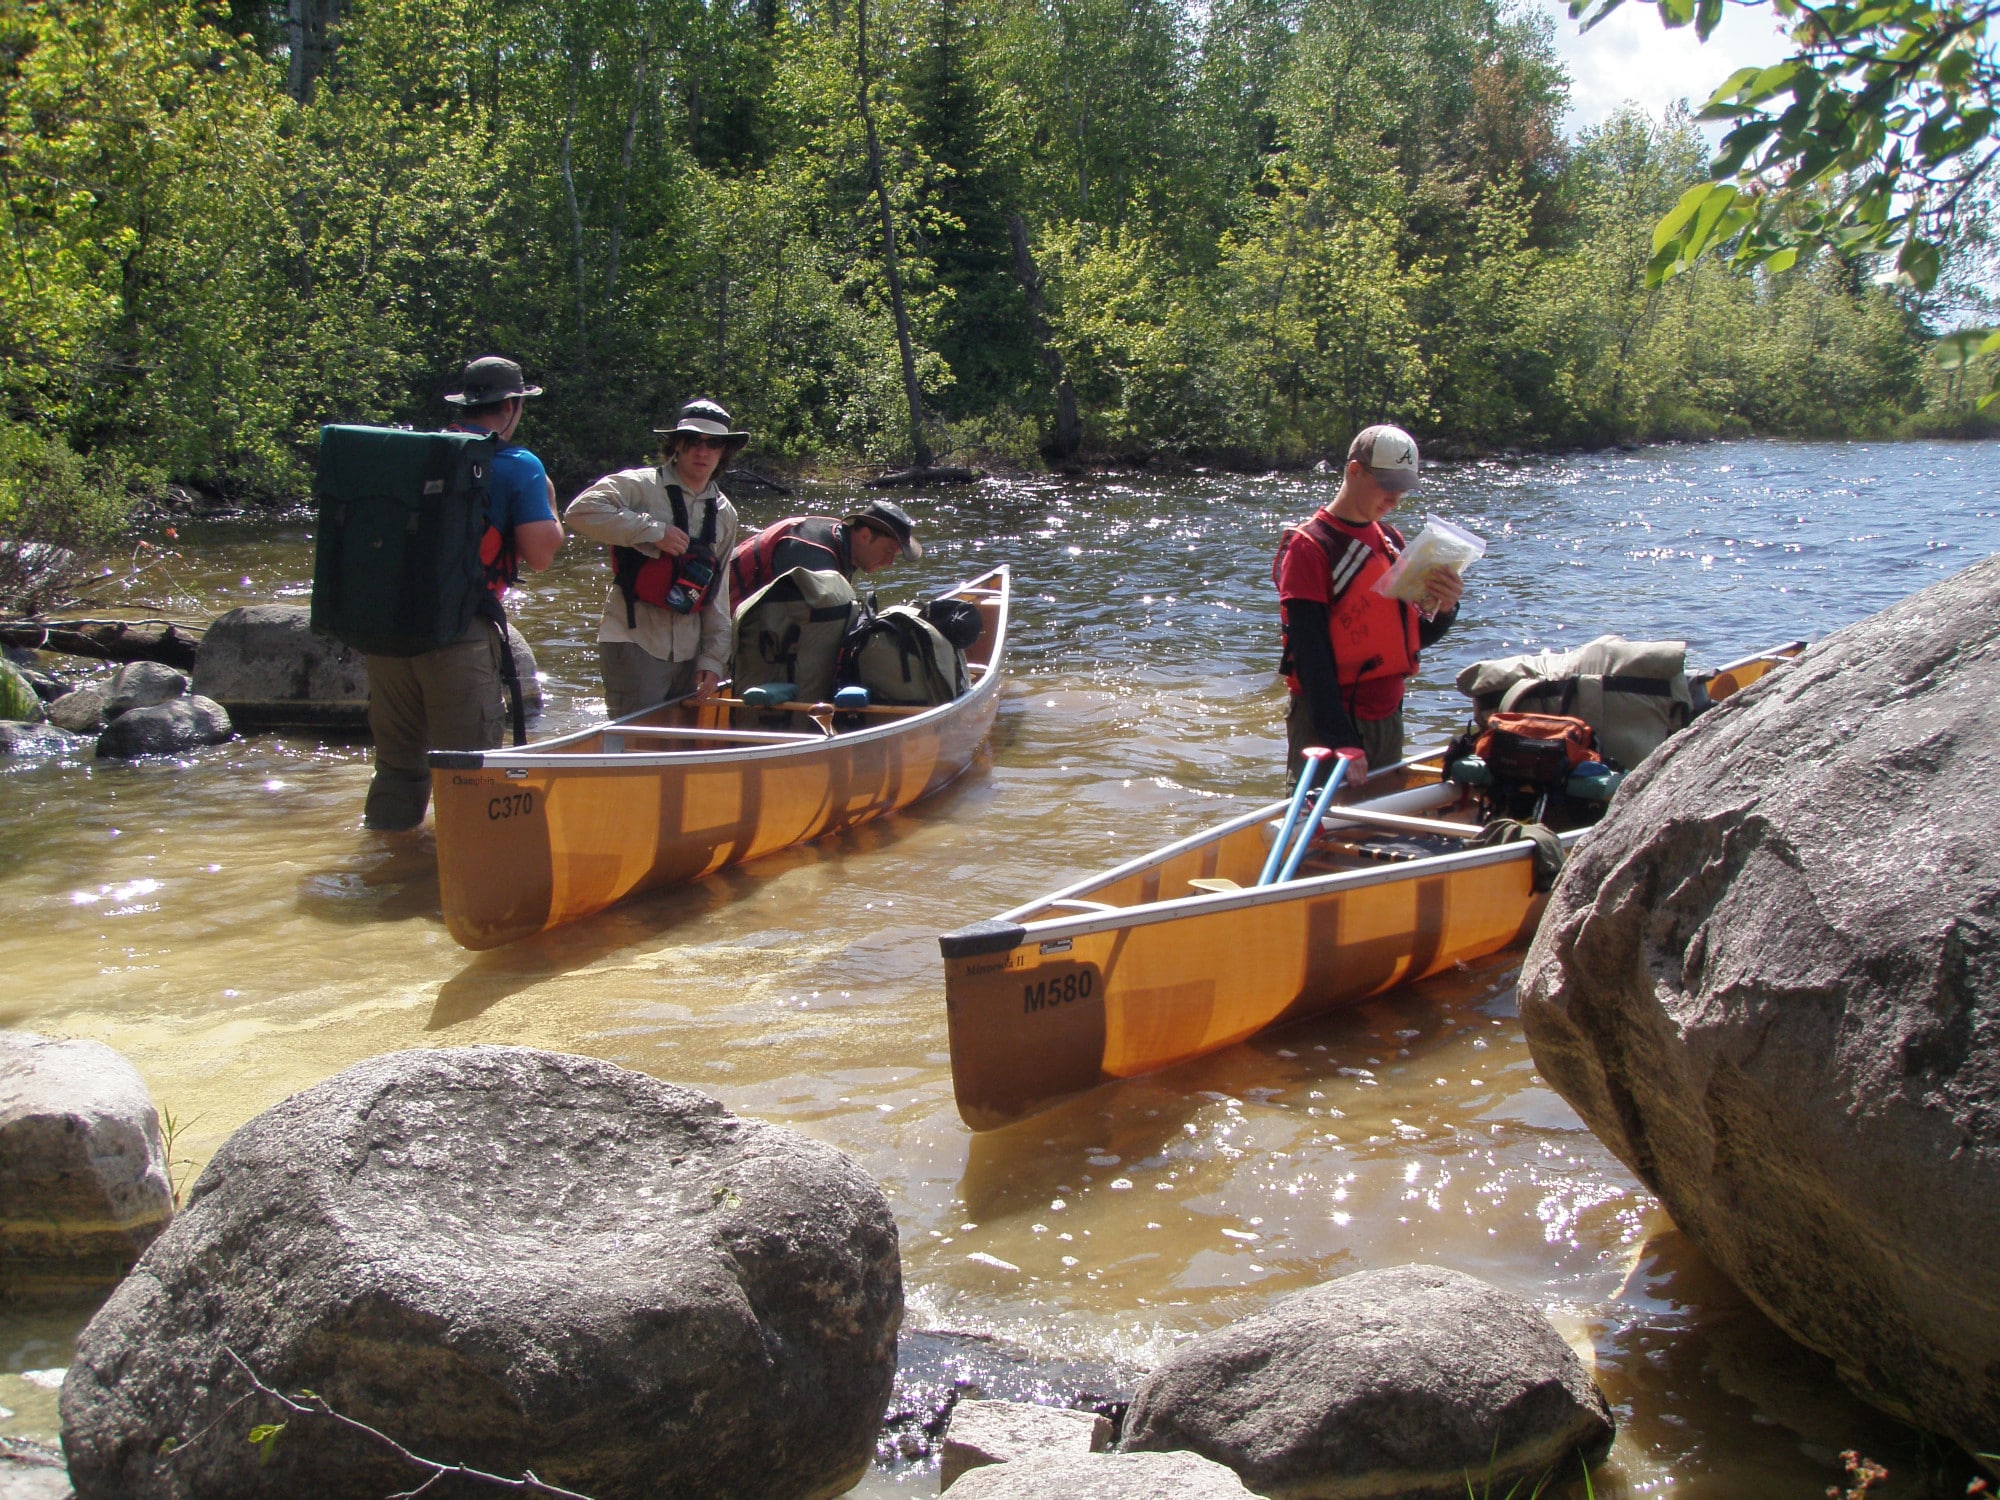
If the camera is in a good spot to grab and go, you are more likely to get that photo. I’ve gotten pictures in a variety of ways. I had my smartphone in my pocket with a lanyard that I got a moose shot with; I had a point and shoot in my life jacket for another moose. A GoPro mounted to the bow of a canoe for a black bear swimming.
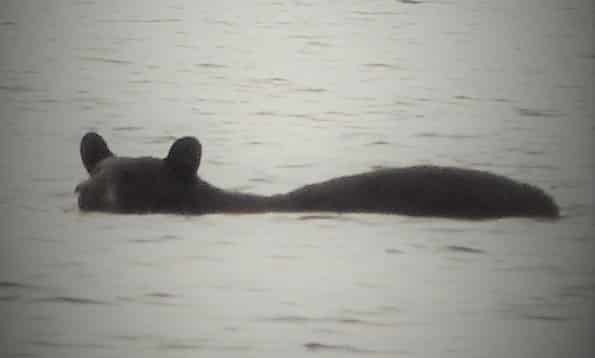
Sometimes you have to act. Even with my DSLR, I kept it in a dedicated pelican case under my canoe seat, and I got a picture of a momma bear and three cubs. For each of these wildlife sightings, the animal was gone from my sight in less than a minute from seeing them, and if I didn’t have the camera ready to go, I wasn’t getting the shot.
#4 Be Quiet
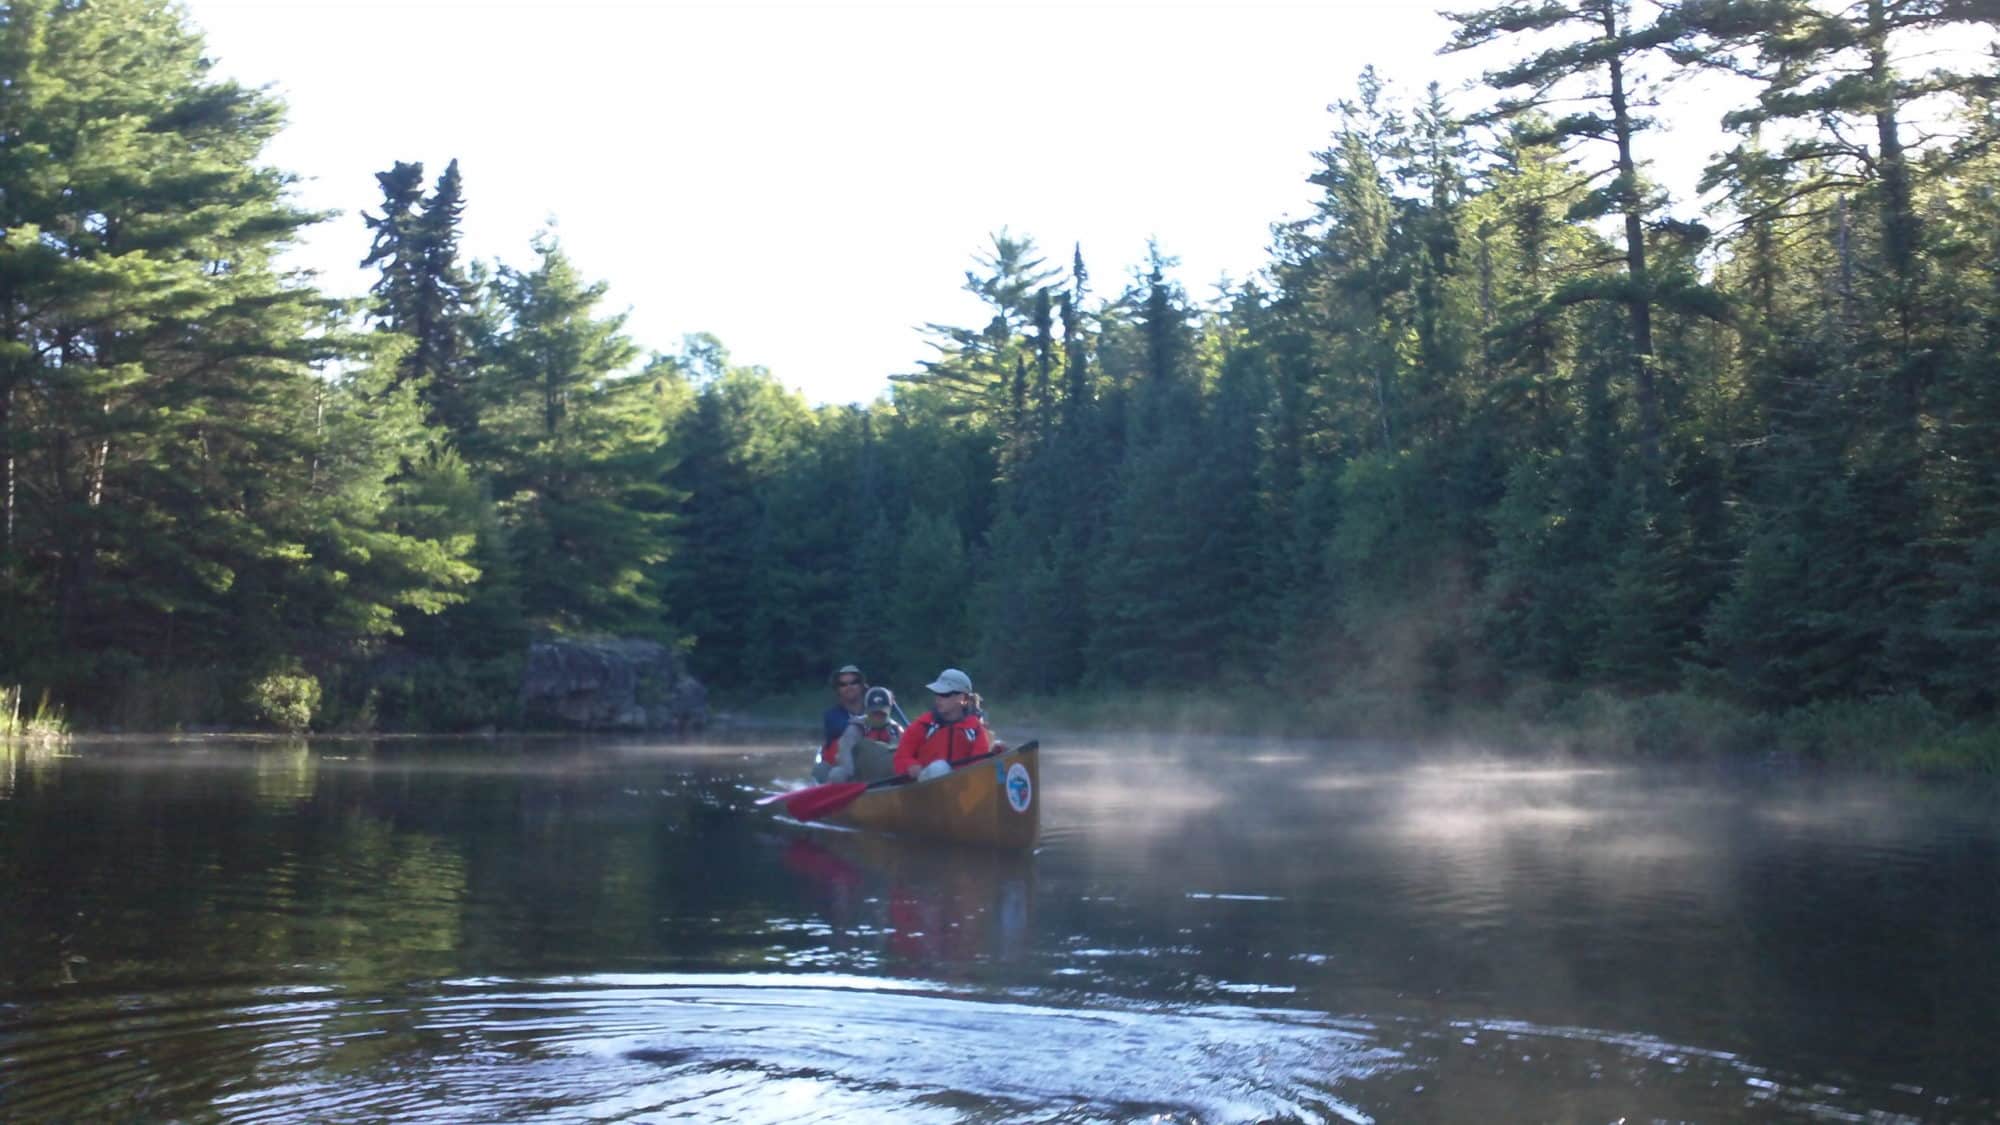
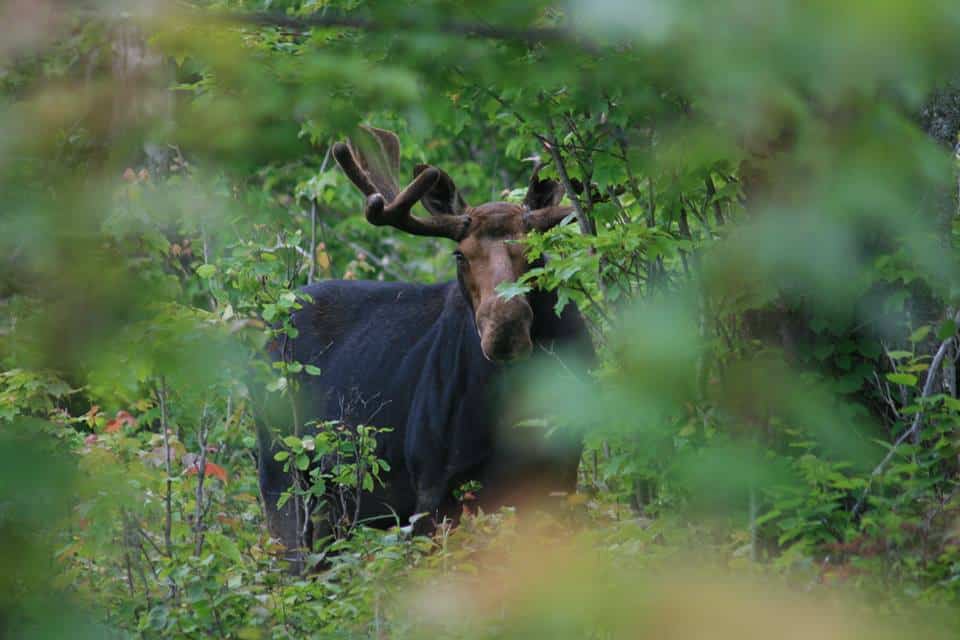
If you are hoping to see, wildlife makes sure you and anyone you are keeping the voices low or agree just go along silently for a time. This is true on the trail or water. My wife and I ended up less than 15 feet from a bull moose on Isle Royale because we hiked in silence. (There’s a story there that I’m sure I will share at some point about speaking Canadian to the moose, so he didn’t charge.) If you are on the water, sound carries. Watch your paddle so you don’t bang it on the gunnel or have your water bottle secured to something, so it doesn’t fall over in the boat.
#3 Go Early in the Morning
Most of the wildlife photography pictures that I have gotten were in the morning between 5 am-9 am. Really as soon as the sun is up, if you are quietly moving on the trail, the chances go up that you will see something. That is not to say that you are not likely to see something in the afternoon or evening, but mornings are key in my experiences.
#2 Be Prepared With the Right Equipment
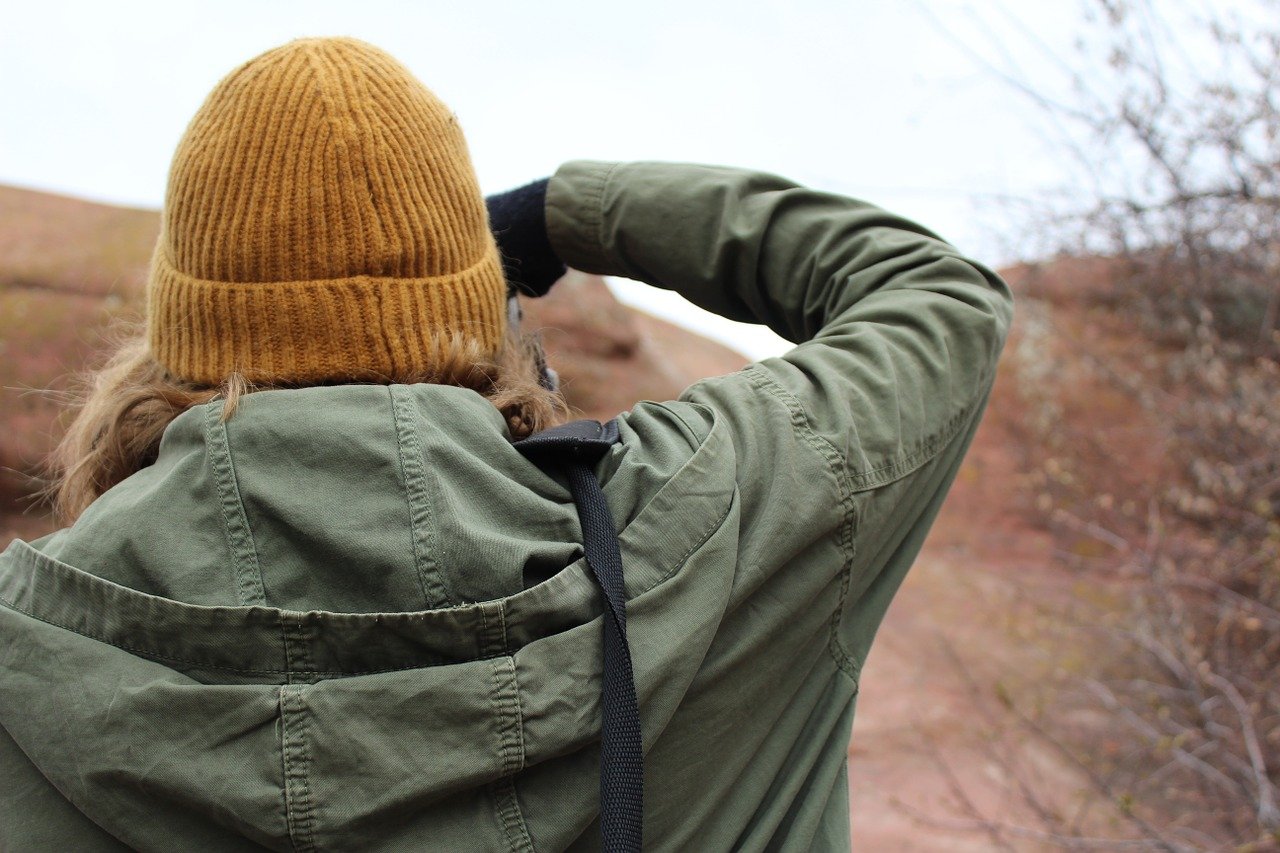
In a different way to be prepared, make sure that you have your batteries and memory cards good to go. There have been many times that I have gone to take a video or photo and been screwed by a dead battery, full SD card, or even more frustrating, no SD card. I will often get that stuff set up at the end of the day so that I am good to go the next morning.
#1 Sometimes It’s Just Being Lucky
Honestly, some of this comes down to luck. You can do everything right and still get skunked. Sometimes you get lucky and see 5 bears in two days (that was a crazy trip) or see nothing but red squirrels for two weeks (we had a rather talkative couple of weeks). That being said, I think if you are in the woods, you’re lucky enough.
Conclusion
Hopefully, you found something useful here and that the next time you head out, you can get that perfect shot! Here is your take-a-way homework. Send a link to your best wildlife shot or video in the comments section.
