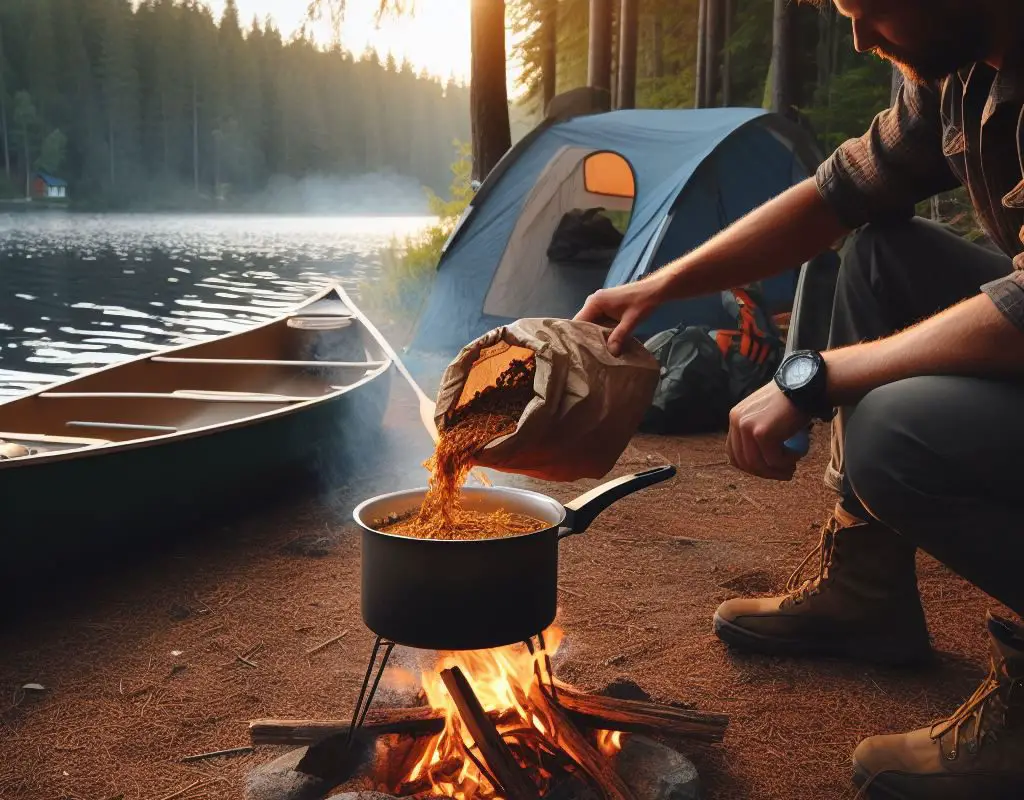
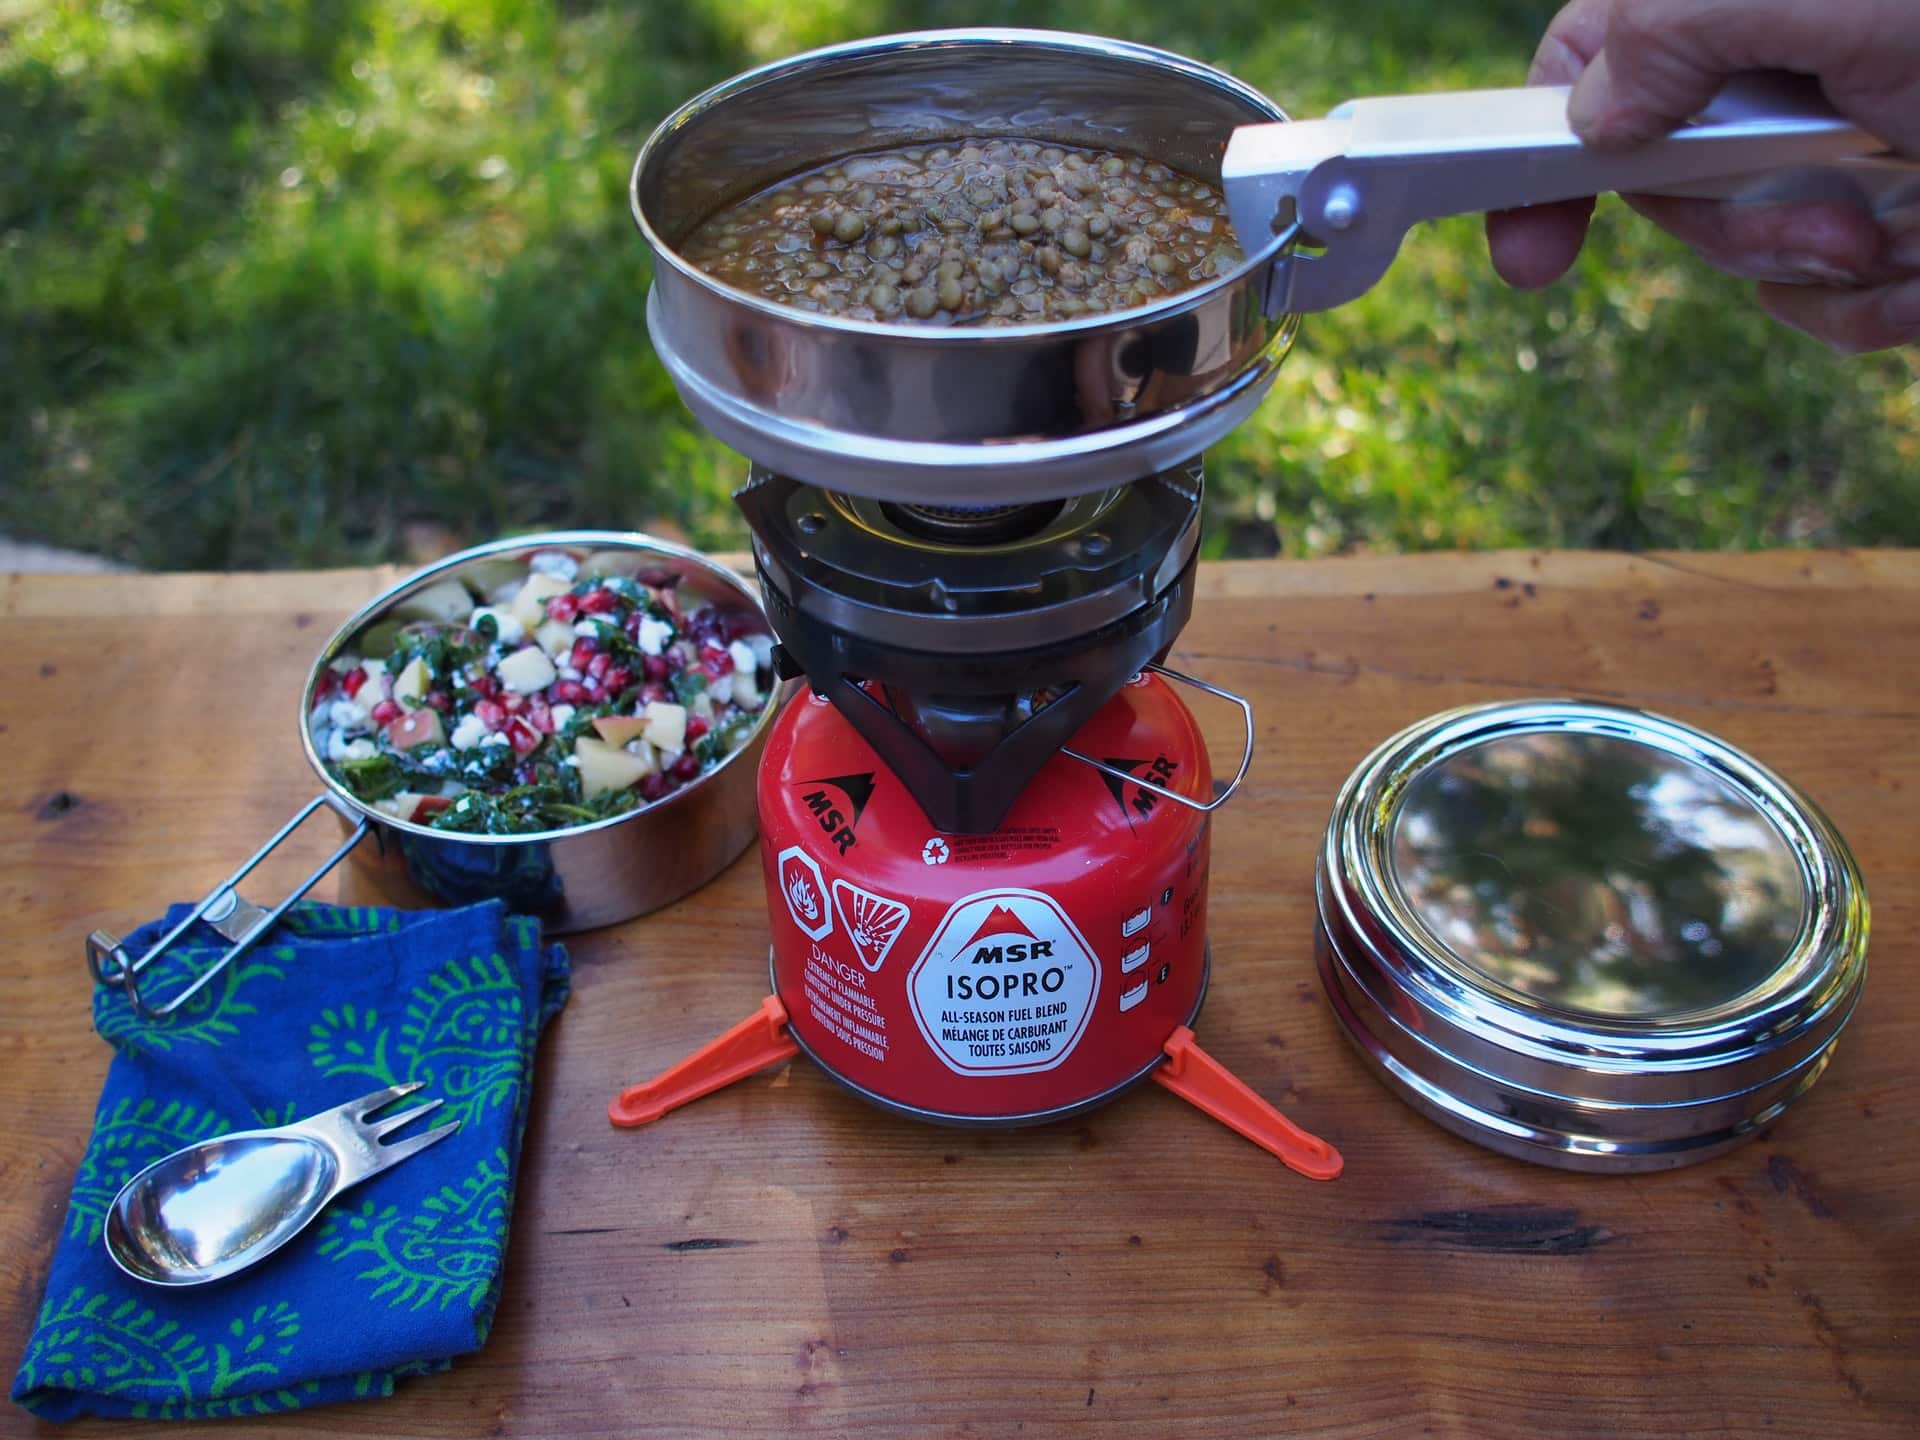
Embarking on an adventure in the wild calls for a specific focus on nutrition and energy replenishment. The wonder of dehydrated camping meals is that, not only do they provide sustenance for outdoor pursuits, but they are also lightweight, compact, and carry a lower risk of spoilage. We embark on a journey of understanding the science of food dehydration, picking the perfect ingredients that both nourish and titillate the taste buds, getting acquainted with an array of meal recipes and mastering the art of packing and storing to keep these meals as fresh as possible. The fascinating world of dehydrated camping meals is about to unfold.
Table of Contents
Understanding Dehydration Process

Understanding Food Dehydration
Before jumping into creating your dehydrated camping meals, it’s crucial to have a foundational understanding of the respective process. Food dehydration refers to the removal of water or moisture from food substances to extend their shelf life and make them convenient for storage and transport. This is done by applying heat to evaporate the water while being careful not to cook the food. The result is a light, easy-to-transport, nutritious meal that can be quickly rehydrated with water.
Appropriate Foods for Dehydration
Not all foods are suitable for dehydration. Ideal candidates include fruits like apples, bananas, and berries, and vegetables like onions, peppers, and zucchini. Meats and seafood are often freeze-dried rather than dehydrated, but you can dehydrate ground meat. Beans and grains can also be dehydrated after being fully cooked. Nuts and seeds, though already low in moisture, can also be dehydrated to enhance their crispness.
Be cautious with high-moisture foods like melons or citrus fruits, and those with high-fat contents like avocados or fatty meats, because they can spoil faster due to moisture and fat that won’t totally dehydrate.
Methods and Equipment for Dehydration
There are different methods to dehydrate food. One of the most common methods is air drying where food is simply left in a cool, dry, and well-ventilated area. Sun drying is a variant of this, but it only works well with certain foods and climates.
However, for effective and uniform results, an electric dehydrator is your best bet. This device operates by circulating hot dry air around the food to remove its moisture. A good dehydrator will have adjustable temperature settings as various foods need different drying temperatures.
Oven drying is another method especially if you don’t own a dehydrator. It involves placing food on a cookie sheet and setting the oven on the lowest temperature. Unfortunately, this method is less efficient as maintaining low and consistent temperature can be challenging.
Finally, there are unconventional methods like microwave drying, especially for herbs or small quantities of food. However, it is not recommended for larger batches.
Packaging Dehydrated Foods for Camping
Once your food items are dehydrated, allow them to cool before packaging. This will prevent condensation, which can lead to mold growth. Then, store them in airtight containers or vacuum-sealed bags. Label each product with their contents and date of dehydration. Ensure you store these in a cool, dry, dark location to extend shelf life. With these in your backpack, you’re ready for a hearty meal while enjoying your camping trip.
Choosing the Perfect Ingredients
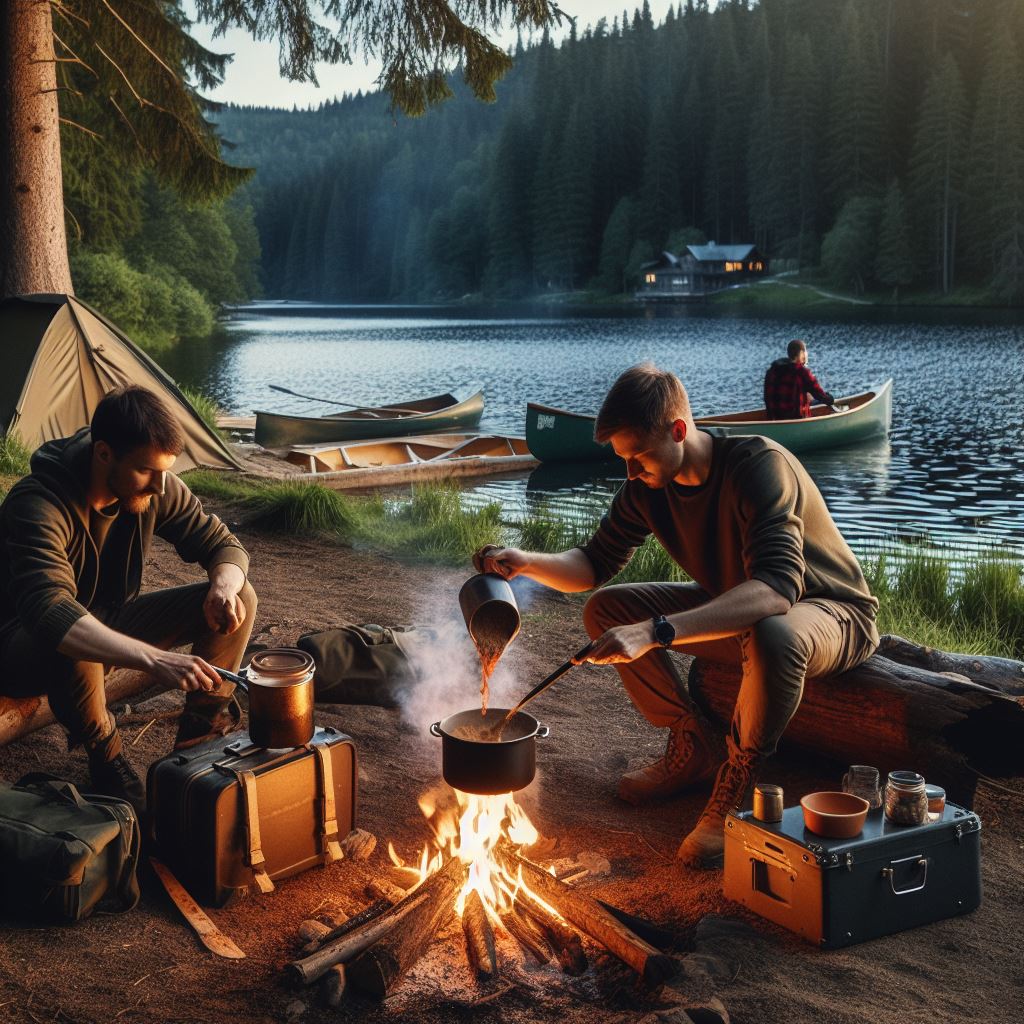
Fruits and Vegetables for Dehydration
While numerous fruits and vegetables are suitable for dehydration, some are more suitable for camping meals than others. Bananas, apples, strawberries, and peaches make for delicious, naturally sweet snacks. Vegetables like peas, carrots, corn, and bell peppers are full of vitamins and fiber, useful for providing energy during outdoor activities.
Fruits and vegetables should be cut into small, uniform pieces to allow for even drying. Washing them thoroughly before cutting ensures any dirt or bacteria is removed. Once prepared, blanching some vegetables like peas and corn can help retain their vibrant color and essential nutrients during the dehydration process.
Meats for Dehydration
Lean meats make the best option for dehydrating because they are low in fat, which can cause meals to become rancid over time. Cooked turkey, chicken, and lean beef are often preferred. Before dehydrating, lean meats need to be fully cooked, trimmed of excess fat, and cut into thin slices. Marinades or seasonings can be used for added flavor.
Grains for Dehydration
Incorporating grains into your camping meals can enhance their nutritional value and extend their shelf life. Rolled oats, quinoa, and rice are just a few examples. They should be fully cooked and drained before drying. Dehydrated grains are excellent for making dishes like rice pilaf, oatmeal, or quinoa salad while camping.
Pre-Treatment and Seasoning Essentials
Pre-treatment for fruits and vegetables can be as simple as a dip in lemon juice or citrus water to prevent browning. Meats, on the other hand, should be thoroughly cooked and marinated, if desired. For grains, proper cooking before dehydration is vital.
Your choice of seasoning can significantly level up the taste of dehydrated camping meals. A simple mix of salt and pepper can do the trick, or you can experiment with herbs and spices that cater to your liking. Combining seasonings into a homemade blend and storing them in a separate lightweight container can make meal preparation easy and hassle-free at the campsite.
Remember
The key to delicious dehydrated camping meals lies in quality ingredients and thorough preparation. With these basics down, you can create a variety of meals to fuel your camping adventures.
Dehydrated Meal Recipes

Identifying Dehydrated Recipes
Begin by identifying the types of meals you would like to have while camping. This could include breakfast, lunch, dinner, and snack options. When looking for recipes, consider including a mix of protein sources, carbohydrates, and fats. It’s also helpful to add in vegetables and fruits for additional fiber and vitamins. Consider meals that are easy to rehydrate and do not require substantial cook and prep time at the campsite. Some popular options may include dehydrated chili, pastas, potatoes, soups, stews, and oatmeal.
Understanding the Proportion of Ingredients
Once you have selected your meals, understand the necessary proportions of ingredients for each one. The key to dehydration is removing all moisture while preserving the nutritional content of the food. Typically, the proportions of meat, grains, or veggies in a dehydrated meal are similar to the same meal prior to dehydration. However, seasonings might need to be increased as flavors can become more muted during dehydration. Always note the quantities specified in your selected recipe before beginning the dehydration process.
Preparing Your Food for Dehydration
Before you begin dehydrating your foods, you’ll need to prepare them. This will vary depending on the type of food you’re working with. Meats should be cooked and thinly sliced to improve drying speed and rehydration. Vegetables and fruits can be sliced thin or diced, and blanched to help preserve their color and nutrients. Grains like rice or pasta should be cooked until al-dente before dehydrating, as this makes rehydration quicker and easier.
The Dehydration Process
The actual process for dehydrating food involves placing the prepared food on drying racks inside a food dehydrator. The temperature settings on your dehydrator will depend on what type of food you are drying. Meats usually need a higher temperature, while fruits, veggies, and grains can be dried at lower temperatures. Dehydrating food typically takes several hours, but the exact time will depend on your specific dehydrator and the moisture content of the food being dried. It’s important to periodically check on your food to prevent it from becoming overly dry or not dry enough.
The Rehydration Process
After drying and packing your meals, understanding the rehydration process is just as important. Generally, vegetables, fruits, and grains can be rehydrated by adding boiling water and letting the food stand for about 15 to 20 minutes. For meats, covering the dehydrated meat with boiling water and letting it stand for 20 to 30 minutes is usually sufficient. The rule of thumb is that the dried food will swell up to roughly double its dehydrated size. Always have enough water supply for each of your camping days to rehydrate your meals.
Remember that these are general guidelines.
Depending on the recipe and dehydrated ingredients used, the rehydration instructions may differ. Always carefully follow the recipe’s rehydration instructions for the best results.
Proper Packaging and Storage

Choosing the Right Storage Containers
When it comes to storing dehydrated camping meals, the choice of container is crucial. Glass jars with airtight lids are ideal as they prevent air, moisture, and insects from affecting the food. Alternatively, vacuum-sealed bags can be used, especially for longer periods of storage. These bags are easy to use with home vacuum sealing machines and perfectly retain the food’s freshness.
Label your Dehydrated Food Properly
Upon sorting your meals into their respective containers, remember to label each packet properly. Use markers or labels to write down the contents of the packet and the date of dehydration. This helps you keep track of the food’s integrity and consume it at optimum freshness.
Ideal Storage Conditions
The storage area greatly influences the freshness and longevity of dehydrated items. A chilly, dark, and dry environment is excellent for optimizing the shelf life of dehydrated goods. The space should be cool, ideally below 60°F, and without direct sunlight, which can degrade the food quality. Try to maintain a low humidity level, as moisture encourages mold, leading to spoilage.
Routine Checks
Regular checks on your stored dehydrated camping meals are recommended. Look for any signs of spoilage, such as discoloration, a bad smell, or mold. If you detect any of these signs, discard the food immediately. In its place, dehydrate fresh food to ensure a filled stock.
Repackaging Store-Bought Food
While store-bought dehydrated food usually comes in suitable packaging, repackaging into vacuum-sealed bags or airtight containers can extend its shelf life. It prevents excess oxygen from causing food degradation.
Rotation Rule
Finally, practice the first in, first out rule, known as food rotation. Ensure the older batches of dehydrated meals are at the front of your storage system, so they get consumed first before the newer batches. It’s a smart way to prevent food wastage and maintain the freshness of your meals.
Final Thoughts About Dehydrated Camping Meals

Mastering the art of preparing dehydrated camping meals is a fantastic way to ensure you are well-nourished during your outdoor adventures. It’s about understanding the dehydration process, knowing which ingredients are ideal, finding the perfect recipes, and understanding proper packaging and storage techniques. Through this knowledge, you become your own masterchef, creating delicious meals that can travel with you to the wildest of places and keep you full of energy. Take this knowledge, put it into practice, and make your next camping trip an amazing culinary adventure!
Related Reading

7 Tips On How to Make Dehydrated Food For Camping or Canoeing Tasty and Delicious
Guide to Camping in California’s Stunning Desert Landscapes
Camping on a Budget – Embrace Nature Without Emptying Your Wallet
