Learning how to make dehydrated food for camping is pretty easy. The hardest part is deciding what you want to make and sourcing the ingredients. As with all camp food, there are a few things to remember.
Table of Contents
Why Campers and Canoers Like Dehydrated Food
The first thing to remember is that dehydrating food makes it more lightweight and durable. It also shrinks the volume of food, so you can carry a lot more of it than you would have been able to carry fresh. Dehydrated foods are easy to pack and require less space in your pack or canoe than their fresh counterparts. It is also easier to get calories into your diet when camping and canoeing, which we often have in short supply on a long trip. Dehydrated foods are easy to make at home, where you can control the spices and ingredients.
Things To Remember Before Making Dehydrated Meals
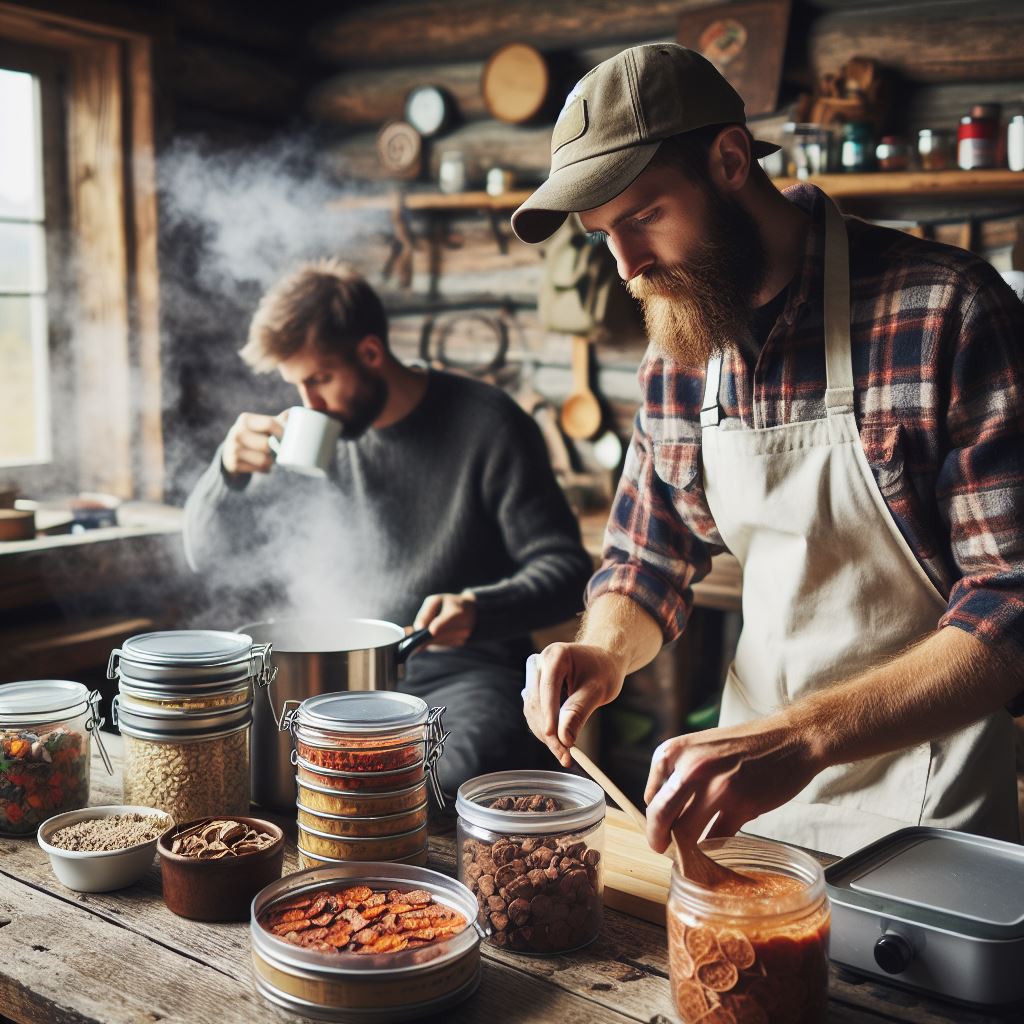
It’s important to keep a few things in mind before dehydrating.
- Food will shrink during the process, so it’s recommended that you cut produce into one-eighth of an inch thick slices and meat into quarter-inch strips.
- It takes anywhere from six to eight hours to dry vegetables, eight to ten hours to dry fruit and twelve to fourteen hours for jerky.
- Rehydrate your food in boiling water for about 20 minutes or so—some fruits like apples will take longer. If you want a quicker method for rehydration, put your food in hot water first and then let it sit for about five minutes. You can also let the food soak overnight in cold water before cooking the next day.
- Stored properly, dehydrated foods should last up to six months at room temperature or a year if refrigerated or frozen. Some light-colored beans or vegetables may taste bitter after dehydration because of oxidation—to prevent this, just sprinkle salt on them before drying.
Choose Your Foods Wisely
Choose ingredients that are easy to prepare, pick those containing enough water, and include hearty vegetables or beans.
One of the most important aspects to keep in mind when dehydrating food is making sure that your ingredients are easy to prepare. Avoid very delicate or hard foods, like squishy blueberries or kiwi. Instead, opt for hearty vegetables and beans because they will be easier to process.
Here are some examples of foods you can safely dehydrate:
- Beets
- Carrots
- Corn
- Green Beans
- Mushrooms
- Tomatoes
The Food Will Shrink In Size
You’ll find that the food will shrink in size by about one-third. A good example of this is spaghetti: a pound of dried spaghetti equals about three pounds of cooked spaghetti, so one serving size is about 4 oz. (or ¼ lb.) raw dried spaghetti (1 cup).
Season The Food Well
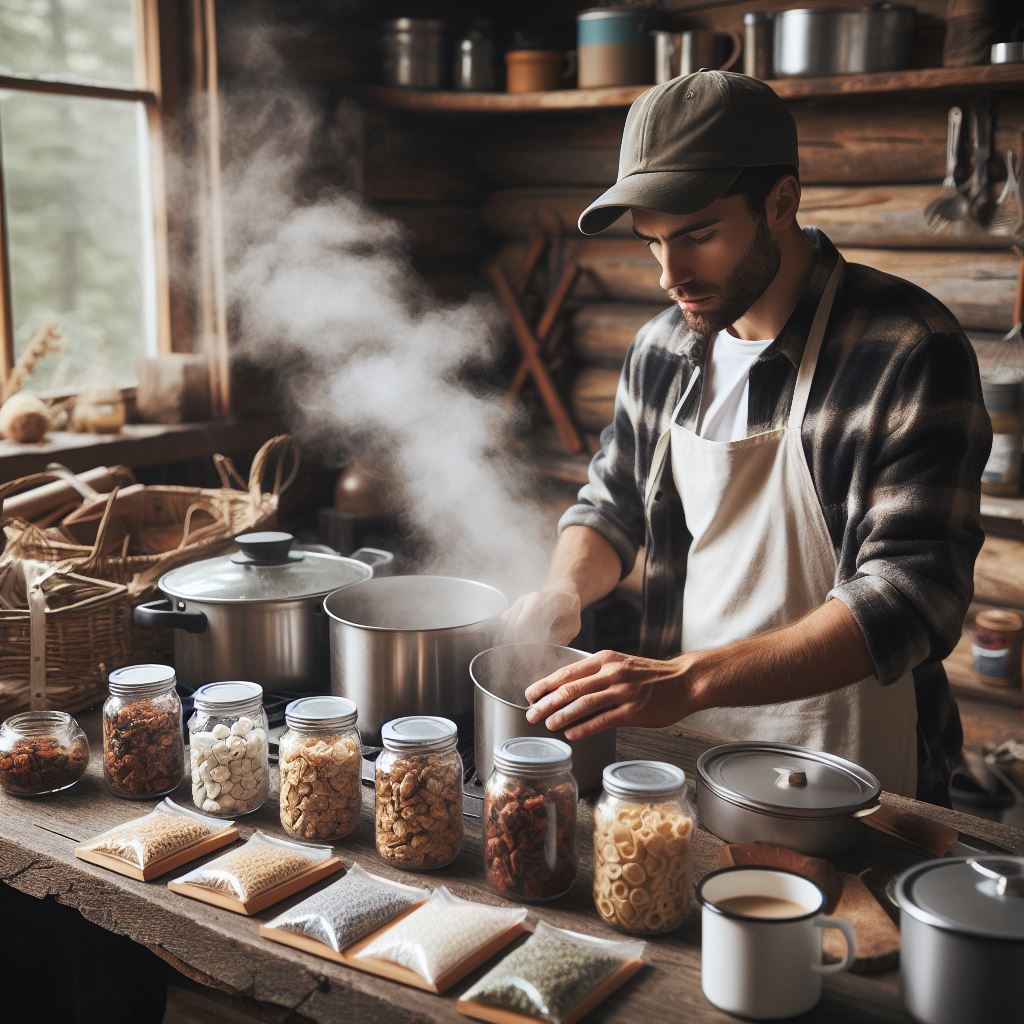
You don’t want to go salt-free when you’re dehydrating. Like you would before steaming or frying food, season the meat and vegetables with salt and pepper. You can also add dried herb and spice blends, garlic powder, onion flakes, or even bouillon cubes to give your dehydrated meals some extra flavor.
If you’re dehydrating beef, sprinkle it with Montreal steak spice or barbecue seasoning; toss your chicken strips in a few dashes of paprika, cayenne pepper, and thyme; add dried mushrooms to your rice and veggies; toss shrimp in lemon juice and seafood seasoning…the possibilities are endless! Feel free to experiment until your heart’s content (or until the campfire is going out).
Matching Flavors That Go Well Together
One of the big perks of dehydrated food is that you can play with some delicious flavors. When planning your meals, think about what combinations work well together. For example, I love chili, but the tomato sauce can be quite acidic and harsh on my stomach after long days on the water. I would pair it with cornbread or a fruit cup for a meal like this to balance out this flavor. Matching flavors that go well together will enhance the meal for your taste buds too!
Remember to consider how you prepare your food before finalizing your recipes—you don’t want any unpleasant surprises. Rice and beans may not seem like an issue at home, but try it in the wilderness after four days’ constipation, and you might come back to thank me for this advice!
Also, keep in mind that certain foods just don’t dehydrate well. These include lettuce, corn (though I have never had an issue if it is precooked as part of another recipe), zucchini, cucumber (which won’t rehydrate properly anyway), and cream sauces, mayonnaise, and margarine, to name a few.
Processing Time For Dehydration
Food will take about six hours to fully dehydrate in a regular convection oven at 160 degrees F (about 70 degrees C).
The amount of time it takes to dehydrate food depends on the size and thickness of the ingredients, the type of dehydrator you are using, and how much moisture is in them. Food will take about six hours to fully dehydrate in a regular convection oven at 160 degrees F (about 70 degrees C).
The larger the ingredients, the longer they will take to dry. Different foods have different amounts of moisture; if you cut your apples into slices before drying them, they will dry faster than oranges left whole. All foods should be completely dry to the touch, with no moisture remaining inside when dehydrating.
How To Dehydrate Your Food At Home

- Break long leaves and stems into palm-sized pieces.
- Slice vegetables as evenly as possible and arrange them on a lightly oiled baking sheet.
- Set your oven to 160 degrees F and dehydrate for 6 hours, flipping halfway through.
The most important step here is to ensure that all ingredients are sliced to the same thickness. Keep in mind that food will shrink once it has been dried, so make sure that none of the items on your tray are larger than the others.
Slice the ingredients (except for beans) thinly – about 1/4 inch thicknesses – so that they dry evenly. If possible, keep all sliced pieces of the same type of vegetable uniform in shape, thickness, and size. If you have a mandolin, now’s a good time to use it! You can also use it on cheese and potatoes.
Slicing up your fruits and veggies is important in drying them. If the pieces are too thin, they’ll dry out too quickly and can become brittle. Slices that are too thick will take longer to dry out, so make sure you choose the right thickness for your fruit or vegetable (a good rule of thumb is 1/4″ thick slices).
I like to slice my vegetables into uniform sizes – usually by quartering them first, then slicing them thinly. If you want to get extra fancy, you can use a mandolin slicer! I also like to cut off any hard stems or seeds beforehand.
To ensure that all pieces of each type of vegetable are sliced evenly, I find it helpful to cut up one entire piece of fruit or vegetable at once instead of cutting up a few slices from each piece before moving on to another. This helps ensure they all have the same thickness and size. It might seem more time-consuming, but everything will go much faster once you start dehydrating!
When in doubt about how thick to slice something: go for somewhere between 1/4″ – 1/8″ thickness (a little thicker than pinky nail width) and adjust accordingly after trying it with your food dehydrator at home. You don’t want any pieces to get overcooked while others haven’t started yet, so keep this in mind when cutting things up!
Preparing Dehydrated Food For Camping
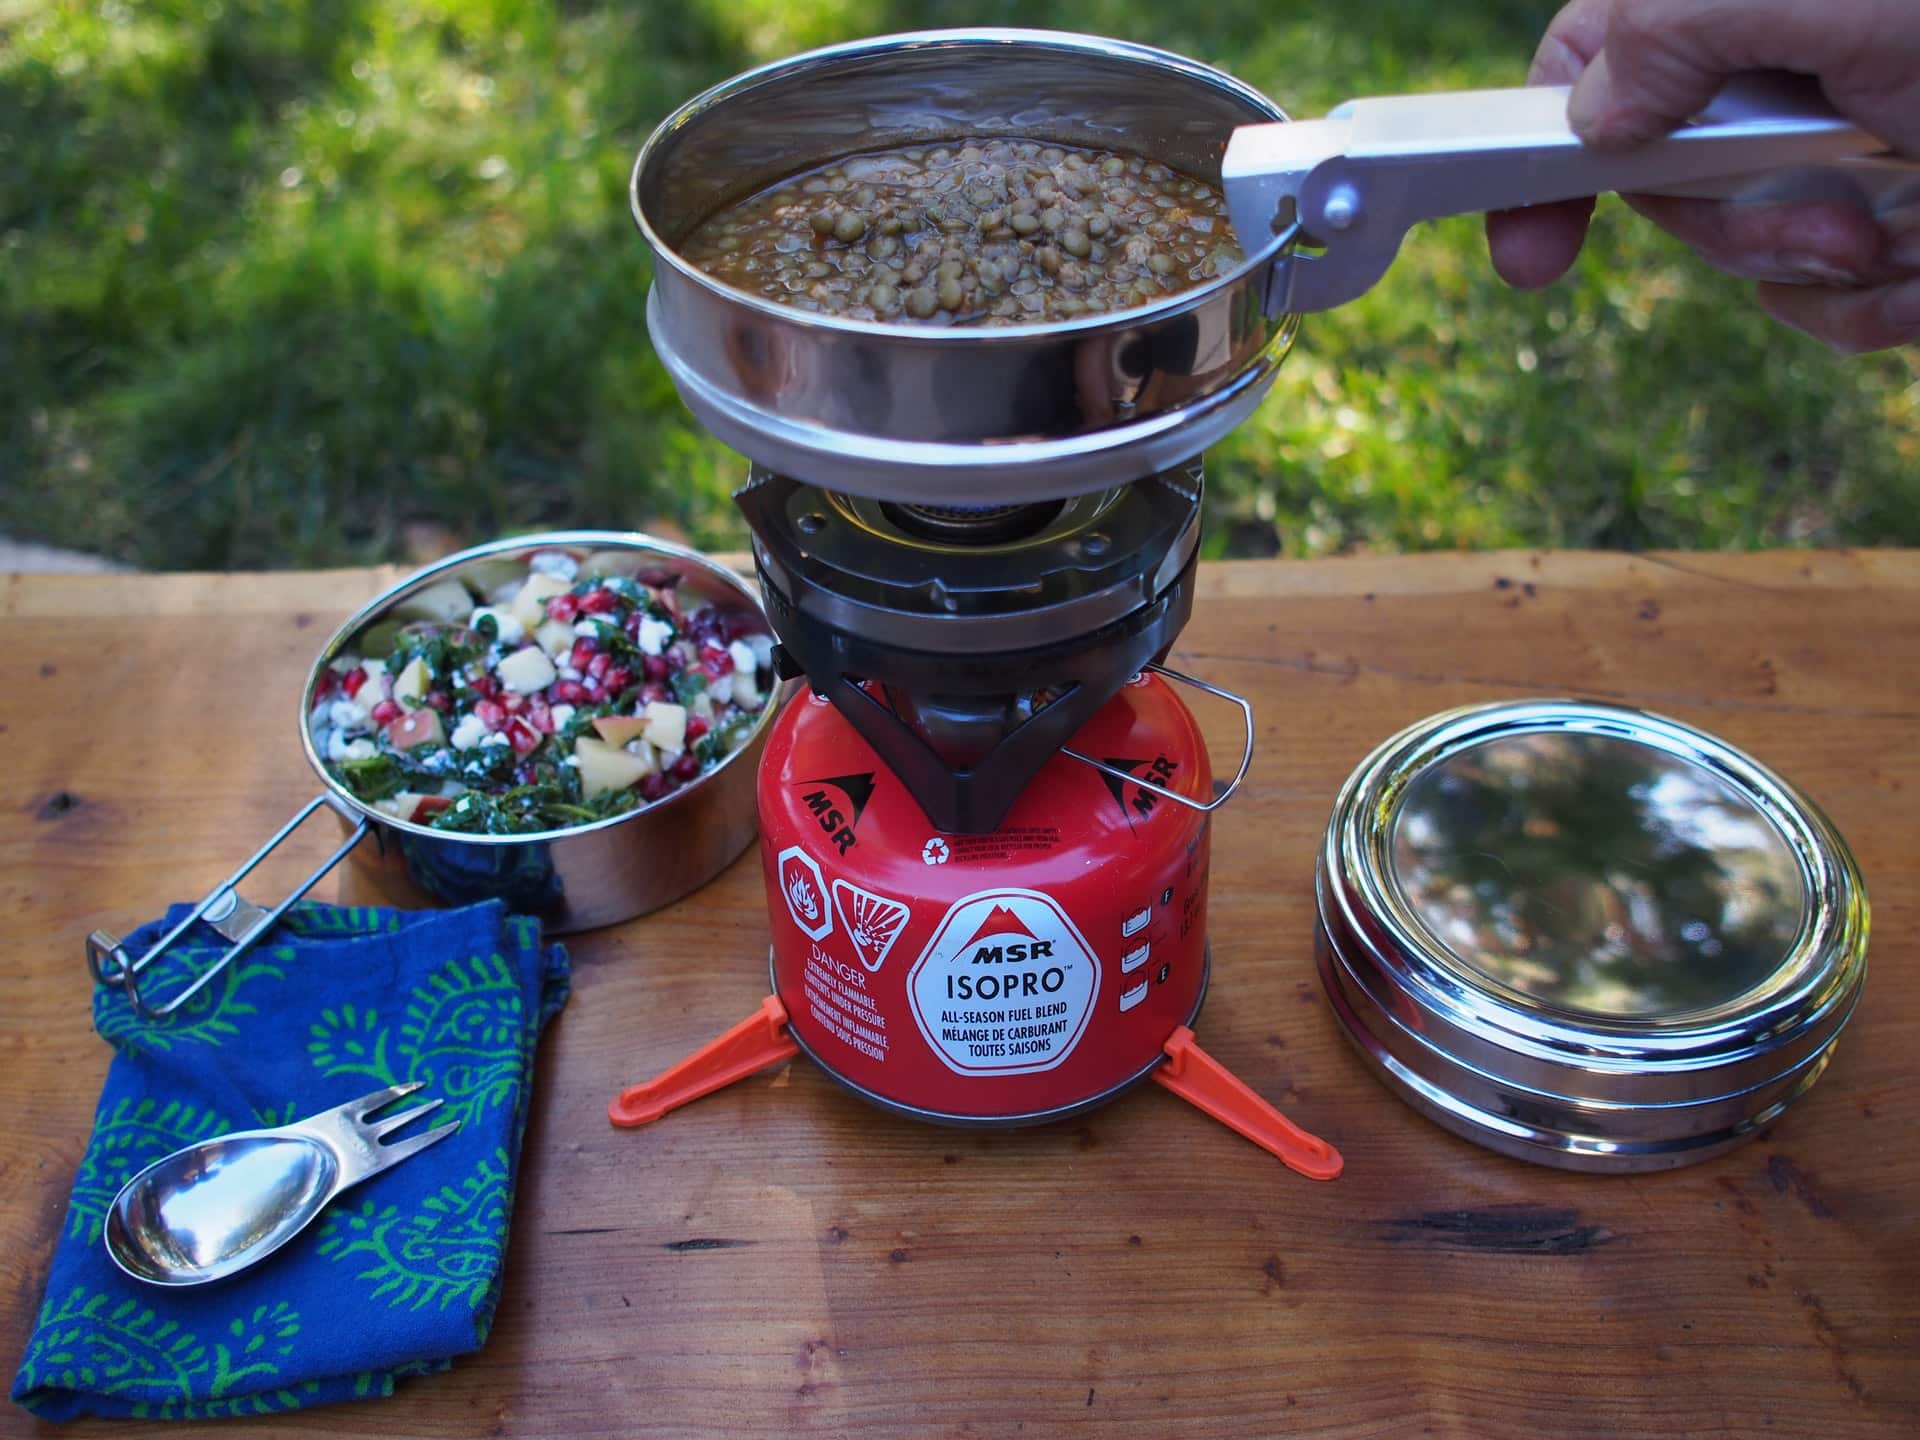
Food will rehydrate in boiling water within 20 minutes. You can also boil water separately from the food, combine them in a dry pot, and cover and sit for 20 minutes before eating. Using a camp stove or heating water over an open fire is easy.
Your dehydrated food will rehydrate in boiling water within 20 minutes. You can also boil water separately from the food, combine them in a dry pot, and cover and sit for 20 minutes before eating.
Dehydrated meals are best eaten right after rehydrating them. If you are making a meal that requires cooking—carrots or pasta—you must add enough water to the food to cook it properly while avoiding overcooking the food and turning it mushy.
Video On How to Make Dehydrated Food For Camping
Final Thoughts on How To Make Dehydrated Food For Camping and Canoeing
There you have it—all the information you need to get started with your own dehydrated food adventure. Trust me; it doesn’t require a lot of money or fancy equipment; all you need is some time and dedication. Once you’ve finished making your dehydrated food, you’ll have something to show for your efforts and enjoy on your next adventure in the backwoods.
